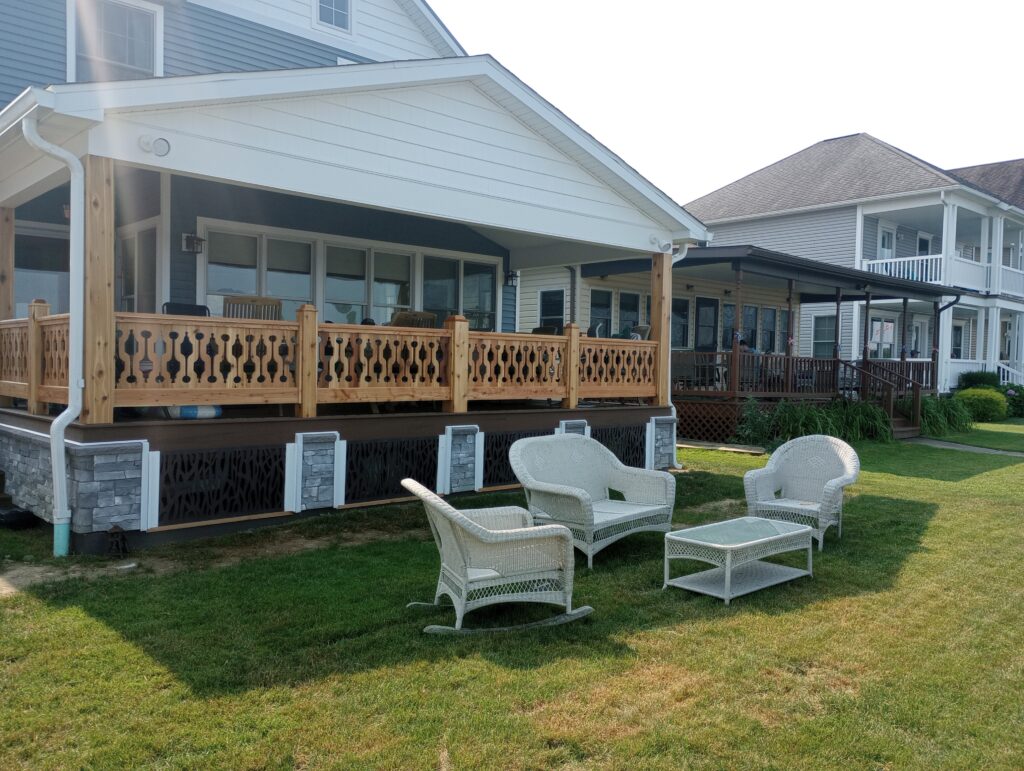
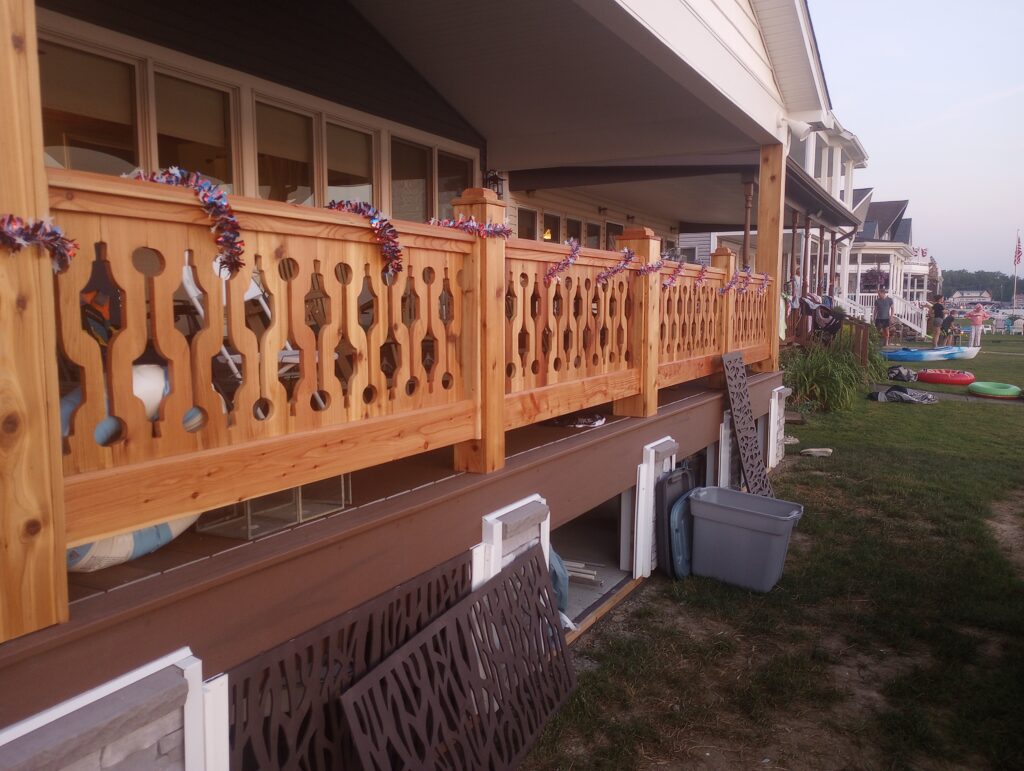
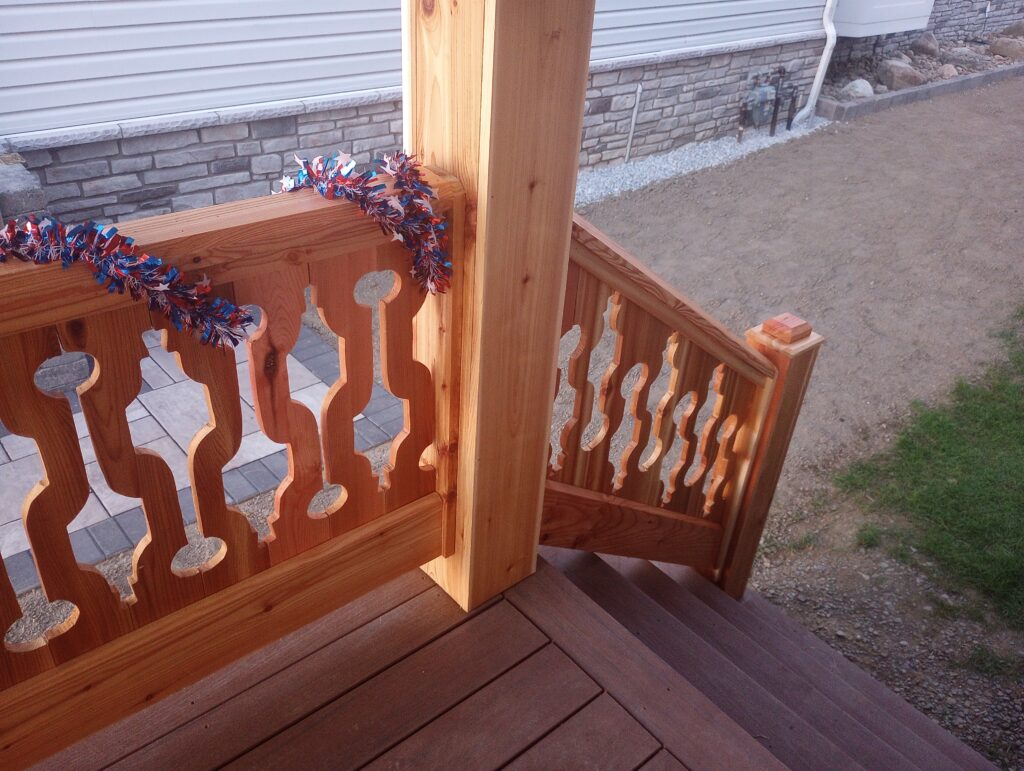
The completed porch assembly from this reproduction project, in place.
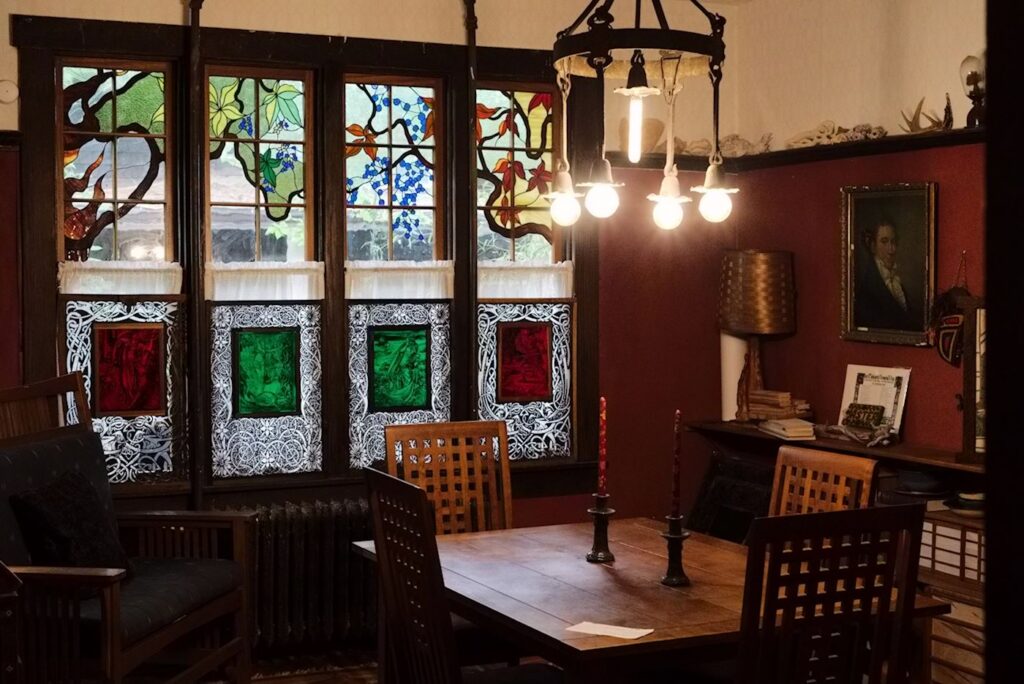
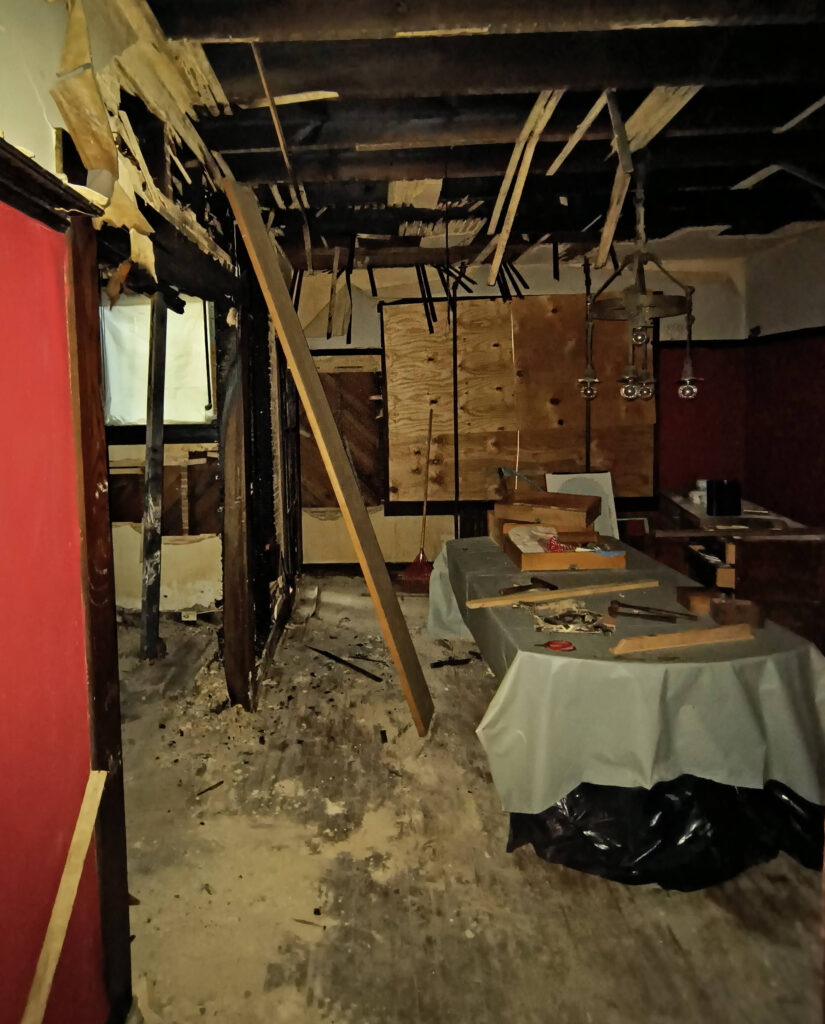
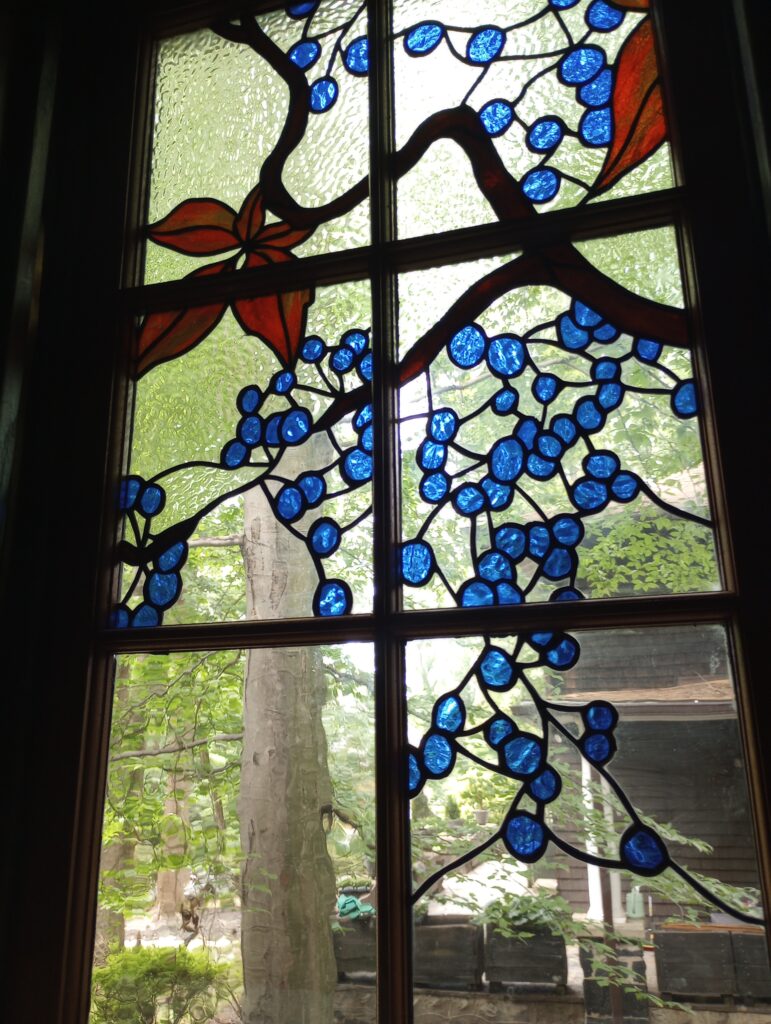
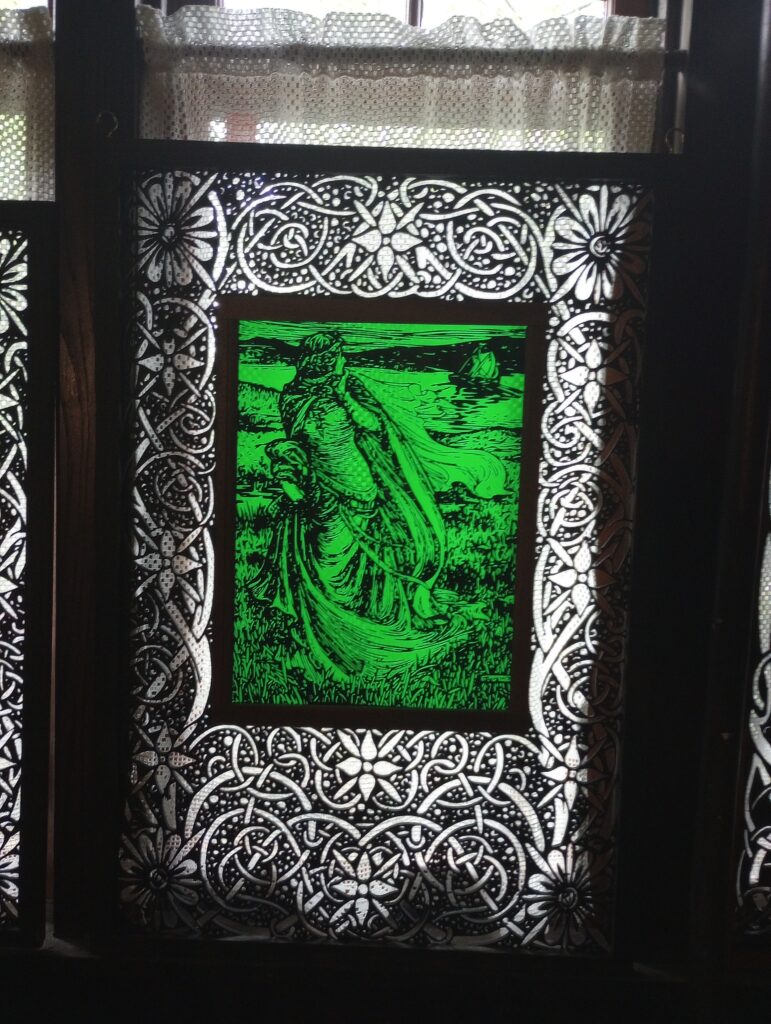
The completed rebuild of a heavily damaged early 1900s dining room. We aimed to restore the rest of the room to as close to original condition as possible (fixing up the original materials where possible, although we had to remake much of the millwork), with the only major change being in the grand window at the end of the room – while it was probably very impressive back in the day, in 2025 the huge quadruple window is looking straight into the neighbor’s house ten feet away, which has somewhat less of an effect. We drew up a glass design in a period-appropriate four-seasons theme and contracted a set of upper sash panes from Terraza Stained Glass, which they did spectacularly. For the lower panels we made a series of detachable lasercut panels, ornamenting the room while allowing light in and permitting the lower sashes to still be opened as needed.
Surveying a repair on an older outbuilding with a seriously degraded exterior. Among a lot of other issues its shingling is paper-thin and nearly worn away in places, contrasting to adjacent buildings of equivalent age that were kept up minimally and still look more or less like new. Cedar siding doesn’t ask for much – the wood itself is very stable in the rain, the charred exterior can handle UV exposure more or less indefinitely, but the one thing it isn’t well-equipped to deal with is abrasion. Ladders and other junk leaned up against the shingles will immediately scratch them in ways difficult to repair seamlessly, weeds and leaf litter allowed to pile up will wear the surface away and leave the underlying material exposed to sun damage, and once covered it can’t stop bugs from taking up residence underneath.

Contrast to the adjacent house, whose shingles must be roughly a century old but have been kept free of debris:

The usual homeowner quick fix for this is to paint over the shingles, where worn or just all over – it is the quickest way to color-match without a mass replacement, and the paint does tolerate having garbage leaning on it better. But water and sun peel the paint away in a matter of a few years, and take any remaining surface treatment with it, forcing regular repainting or destroying the cedar completely. At this point the whole exterior needs replacement, no amount of Valspar slathered on is going to fix these tattered scraps.

Erecting a new workshop outbuilding, as much as possible out of panels preconstructed at ground level. It’s lead to some awkwardness, but for a small crew infinitely preferable to getting up on a ladder nailing all those slats in place


A set of reproduction porch balusters, made to match the originals from a historic Pennsylvania hotel. We lucked out on this one and got a sample of the originals to use as a pattern! The new ones will be cut in Western red cedar, theoretically considerably hardier and more weather-resistant over the next few decades than the original pine or proposed PVC. At the very least it looks a lot cooler, now they’re talking about clearcoating the railing instead of painting it white.

I like this design and am going to hang onto it for reuse in the future, not least because unlike a lot of these older ornate wooden balusters the profile runs entirely on the outside of the board, allowing us to just run it in a single pass instead of needing extra steps for pilot holes (not a big deal individually, adds up quickly when you’re making hundreds of them!)
The staircase rails were a new development and took some design fiddling to nest in a way that looked good and was structurally sound; the resulting geometry required half the panels to be a good deal skinnier in places, requiring (rare in cedar) long stretches of totally clear wood, but joined together as an assembly they’re plenty strong.

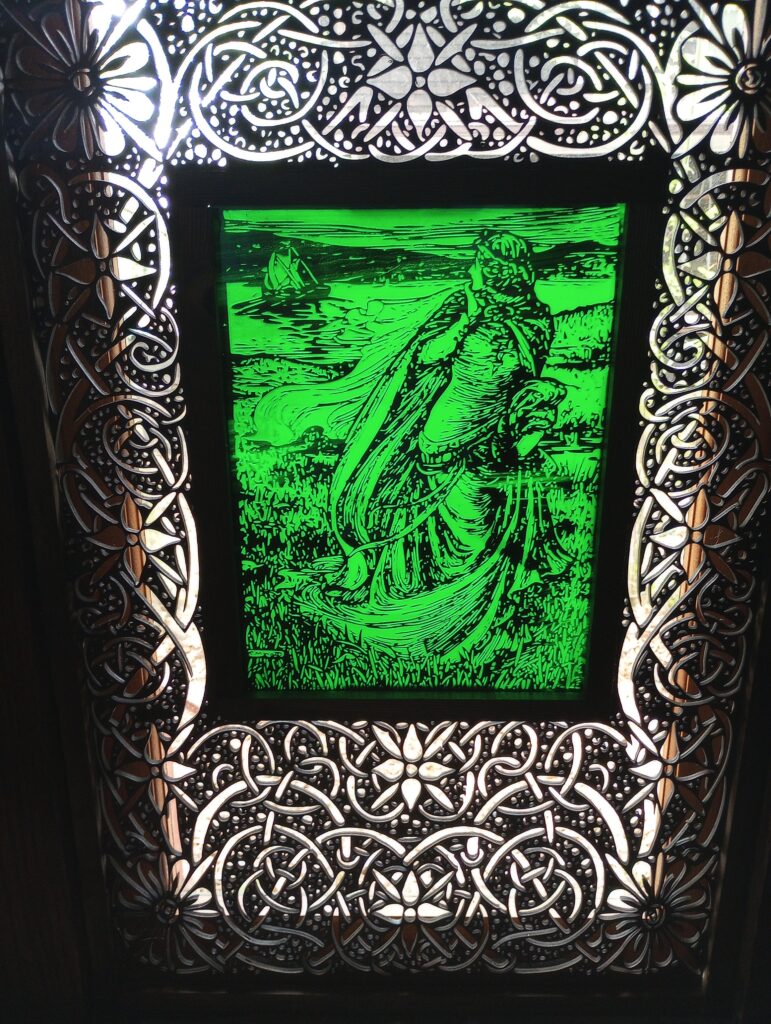
Prototypes for some decorative window inserts, based on turn-of-the-century Arthurian bookplate illustrations by Caroline Watts and Walter Crane. We conceived this style of screen as a cheaper and more portable alternative to stained glass, tough enough to be transported with a minimum of care and capable of being press-fit in place or popped out and relocated when desired.
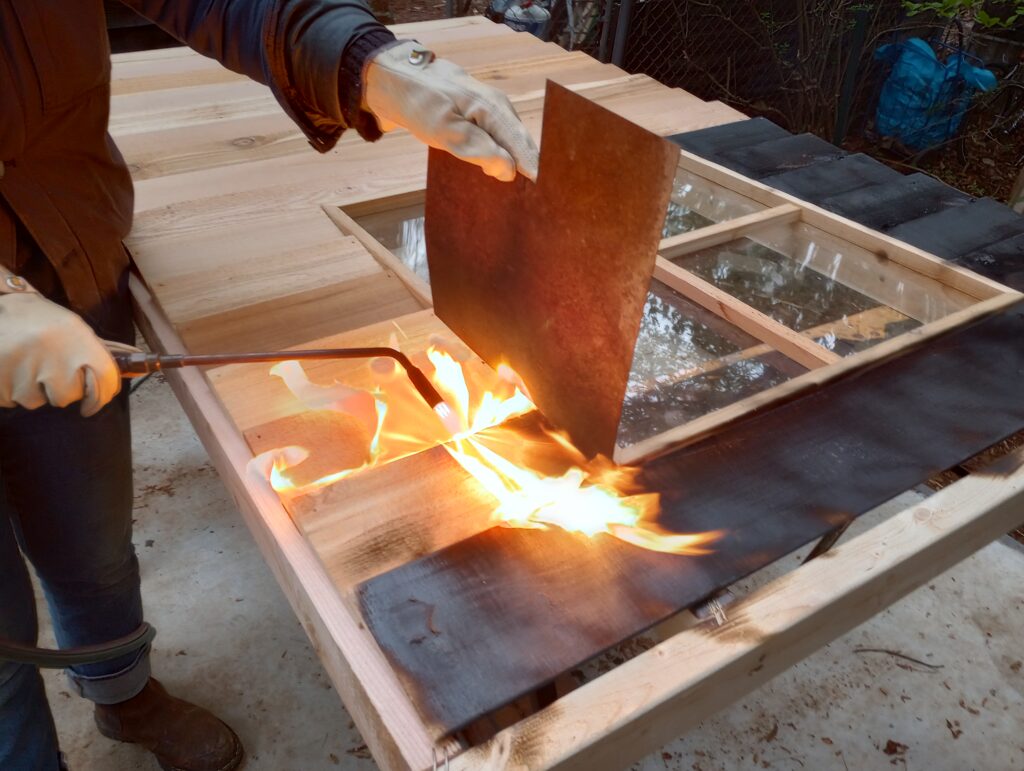
A lot of the older craftsman houses in West Baltimore are faced with yakisugi, or scorched cedar, an adopted Japanese technique for weather- and bugproofing exteriors. Despite being effectively a thin layer of charcoal, done properly it can last over a century – its durability well in evidence in many buildings out here where that’s exactly what happened. Traditionally the effect is accomplished by lashing a bunch of boards together and lighting them on fire, but these days a welding torch will work in a pinch for smaller jobs.
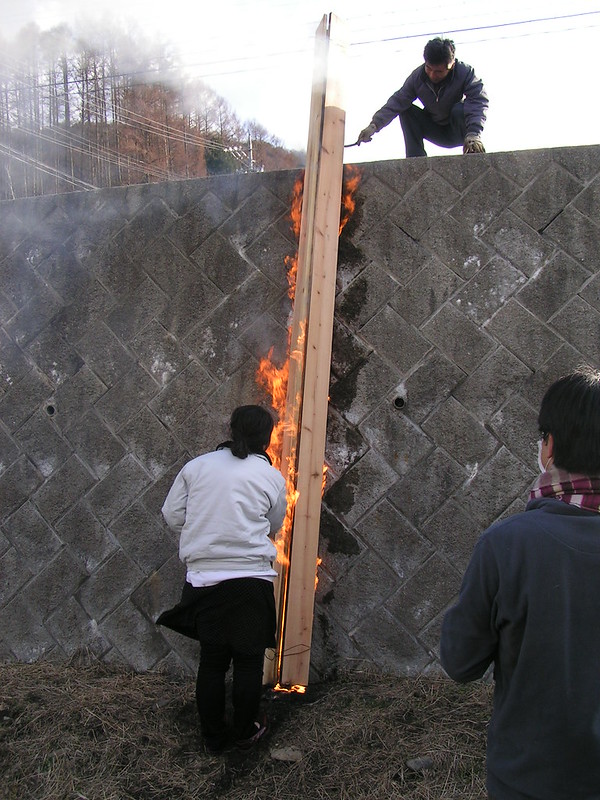
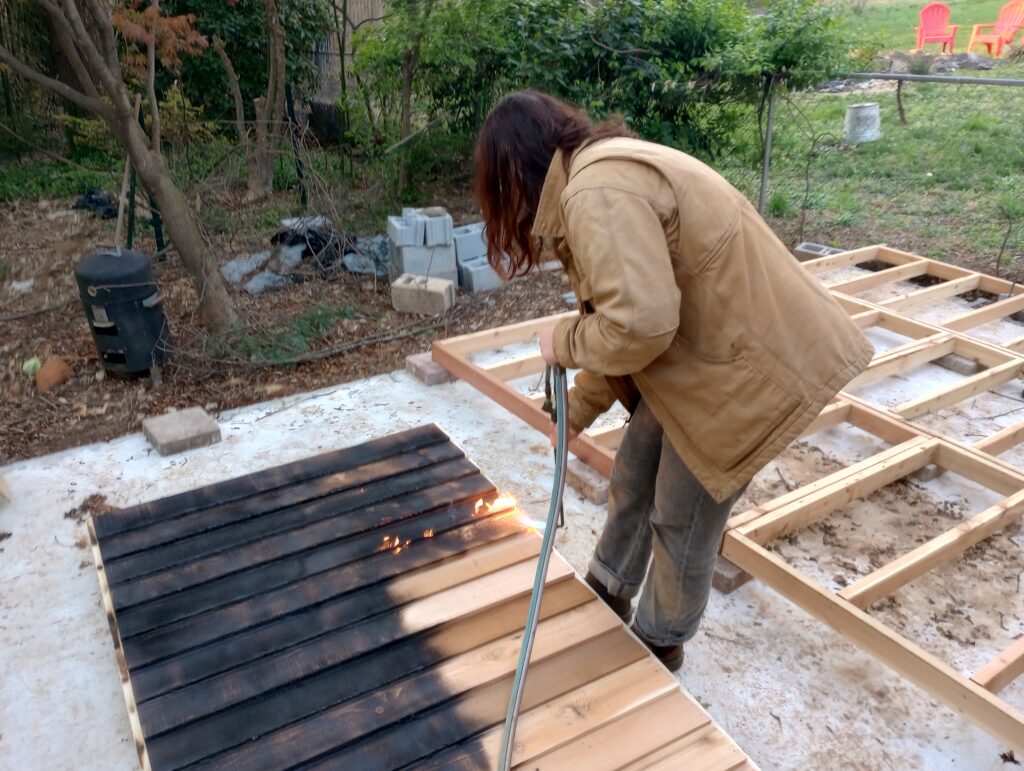
With some creative use of shielding, the latter process even makes it possible to shape the flame to retrofit around existing construction.
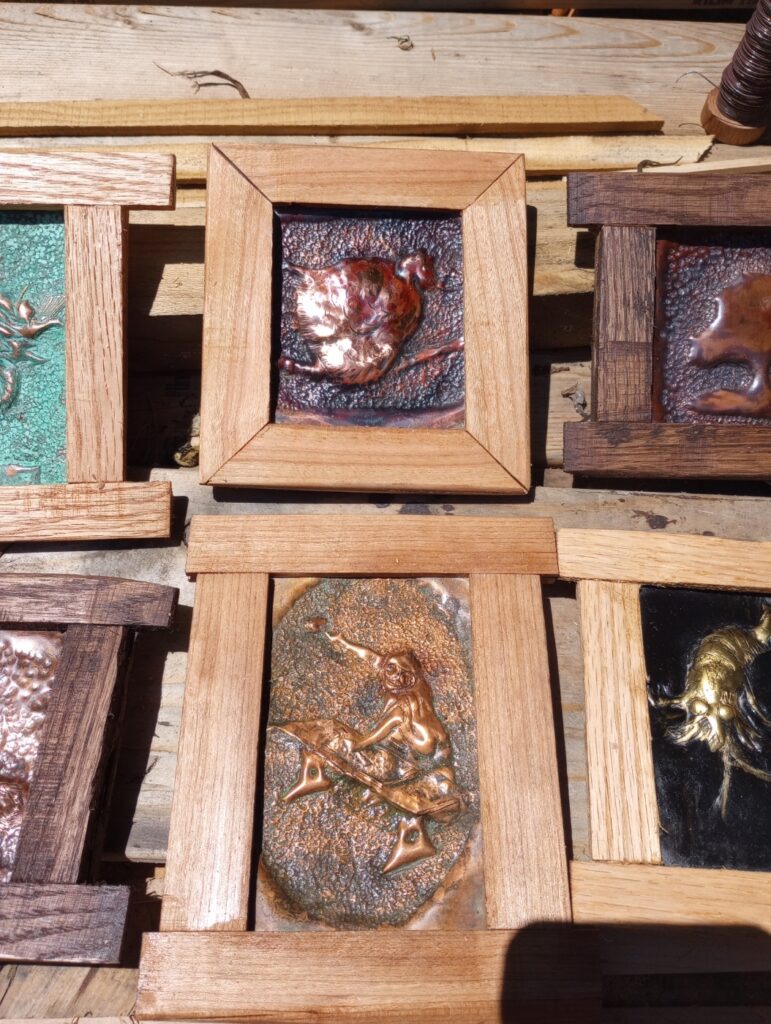
Finishing some last minute cleanup for a line of simple items at the Made in Baltimore Store on the inner harbor, things I can make without recourse to most of my workshop. These copper mini-pictures are mostly based on Hokusai sketches: some good practice in repousse, patina chemistry, and what works in ink that doesn’t and needs a different approach in three dimensions
Got called up for a great writeup from Regi Taylor of the Baltimore Times and Startup Stories! We discussed the business end of my woodworking over the past few years, some of the turns it’s taken and things I’ve picked up.
Also, unrelatedly, working on some upgrades to the chicken coop
a quick folding frame for a two-panel applique piece, keeping a somewhat rusticated effect with the saw marks preserved and copper rivets securing the tenons.