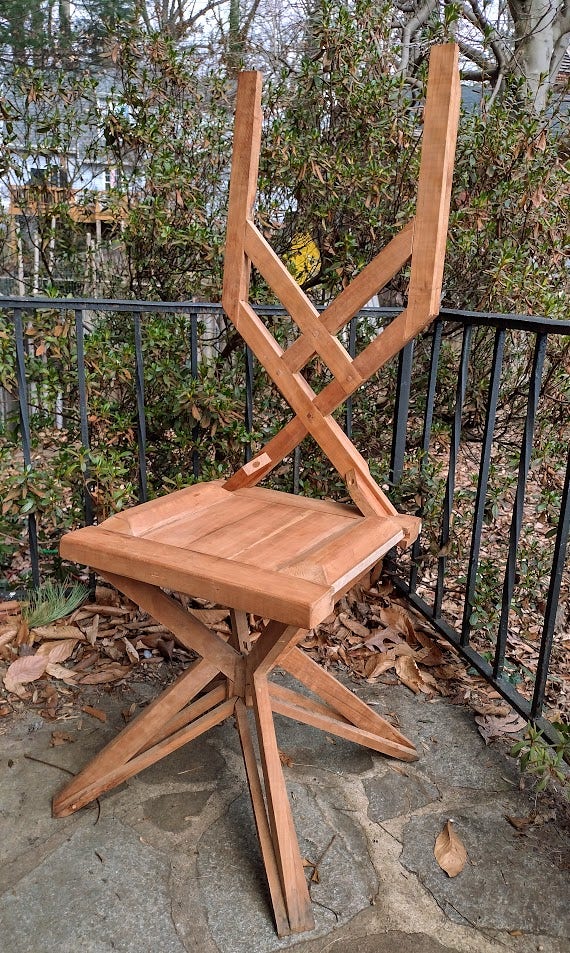
this prototype’s been sitting around my shop for about a year now, intended to eventually be a companion showpiece to some of those inlaid coffee tables posted earlier but I just couldn’t get the back to work right. It didn’t seem like a weak design compared to the doweled backs on the chairs that have been sitting around our, and before us my wife’s grandparents’, kitchen for decades just fine, but when you leaned back something was definitely moving too much for comfort. Examined it while I and others were sitting in it and couldn’t see where the joints were giving, the wood wasn’t bowing, but something was wrong. Shoved a fistful of screws in and near doubled the weight of the thing putting those big chunky reinforcement ribs over every possible weak point, one by one, no dice.
Couple days ago pulled it out of the junk pile and sat in it one more time for good measure – the only part I’d never thought to check was the plank with that big sliding dovetail in the seat, which was flexing so slightly you couldn’t see or feel it except where the movement translated to the top back. Slap a stretcher on the bottom and it’s rock solid. Now to work out a more artful version of that central joint and get rid of those stupid back ribs and we’re in business.
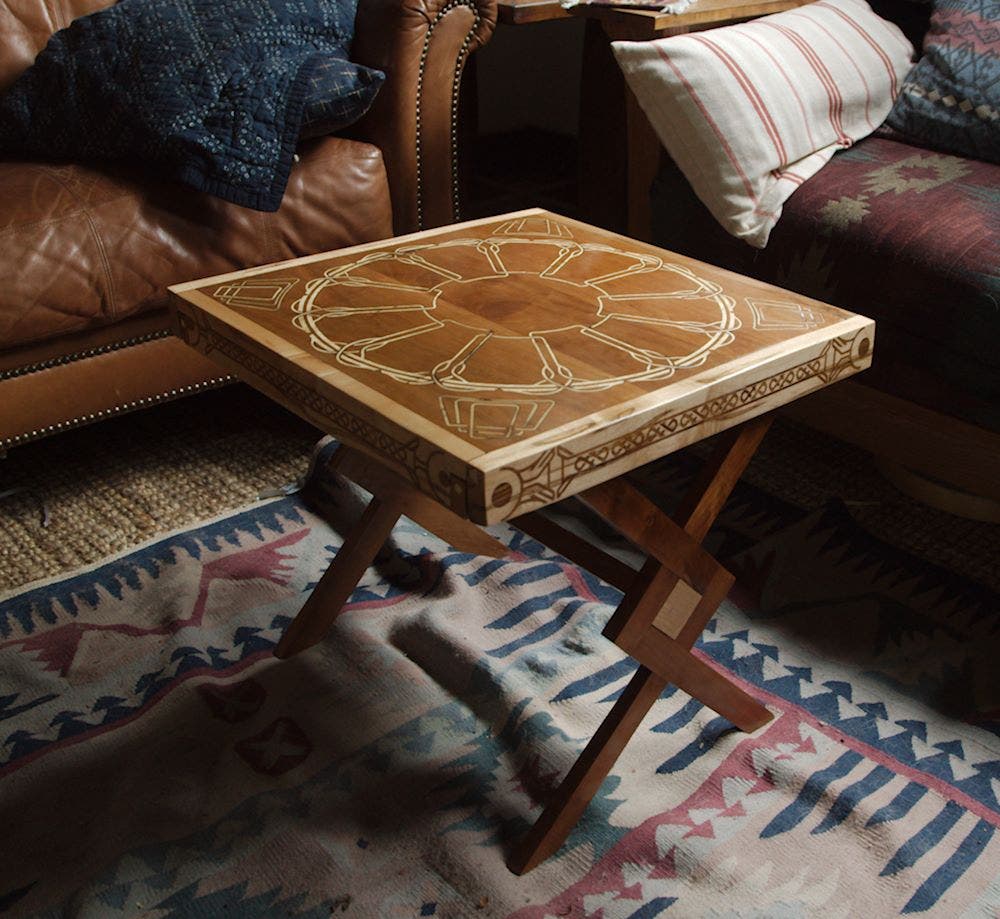
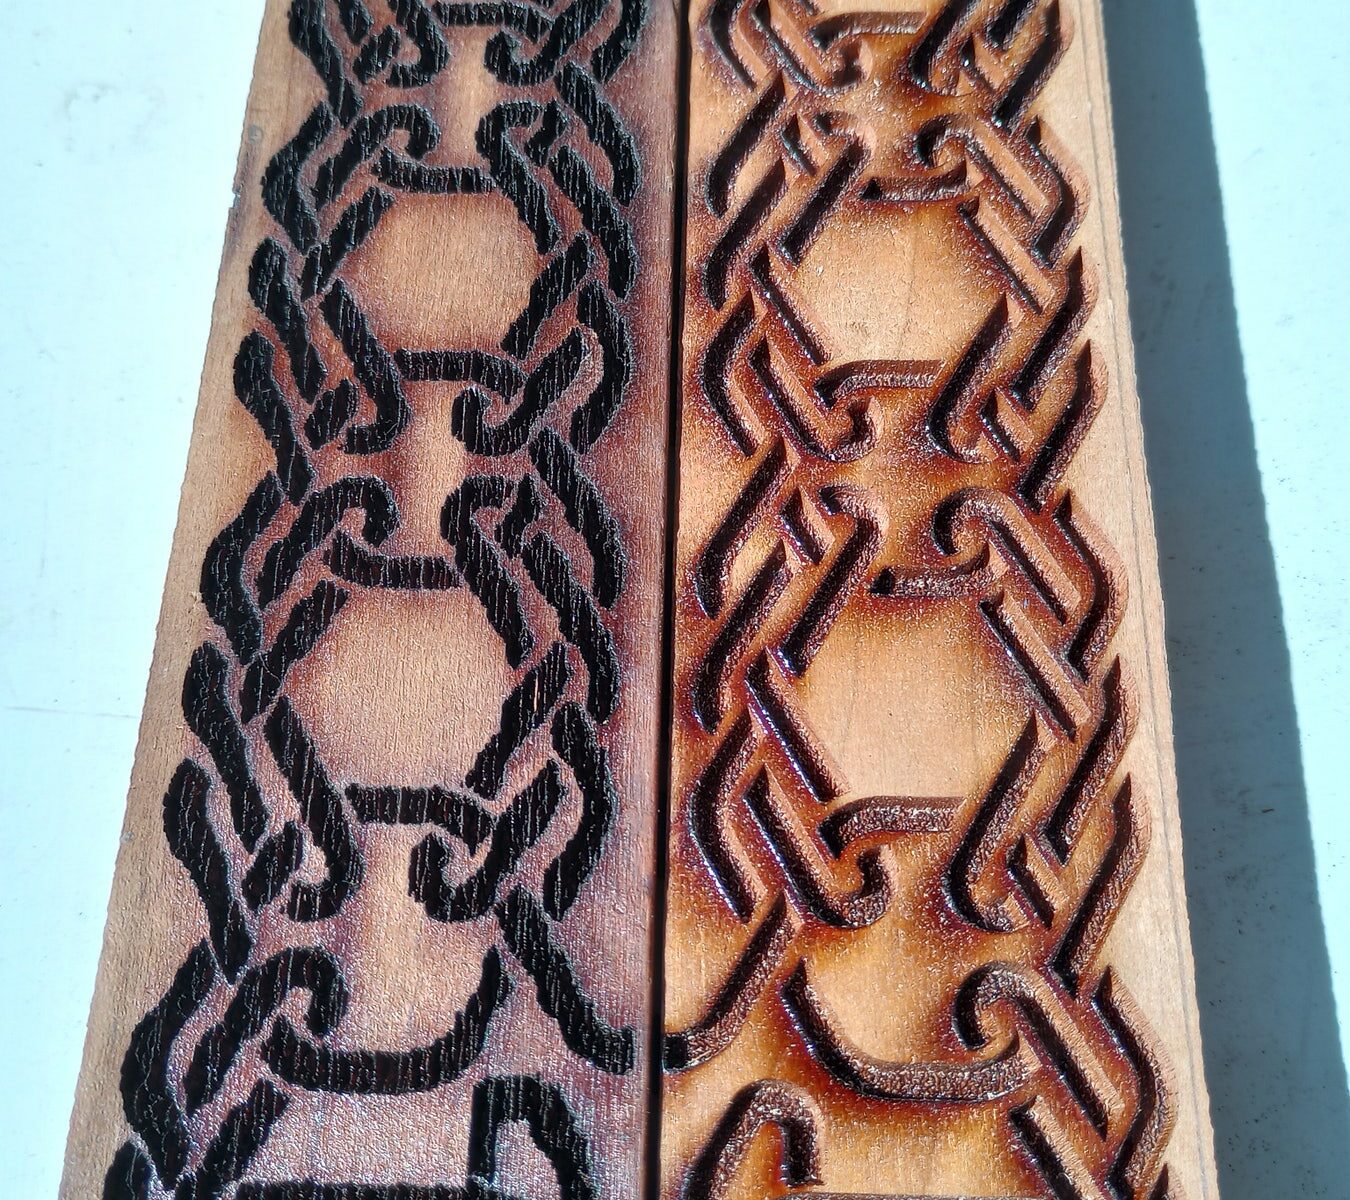
As designs get more ornate and less strictly mechanical/functional I’m very slowly weaning off just drawing the whole thing layout and engravings and all in QCad. Should help make things less stiff and geometric. And do you have any idea how long it takes to do knotwork or, like, a tree in CAD, with a mouse?
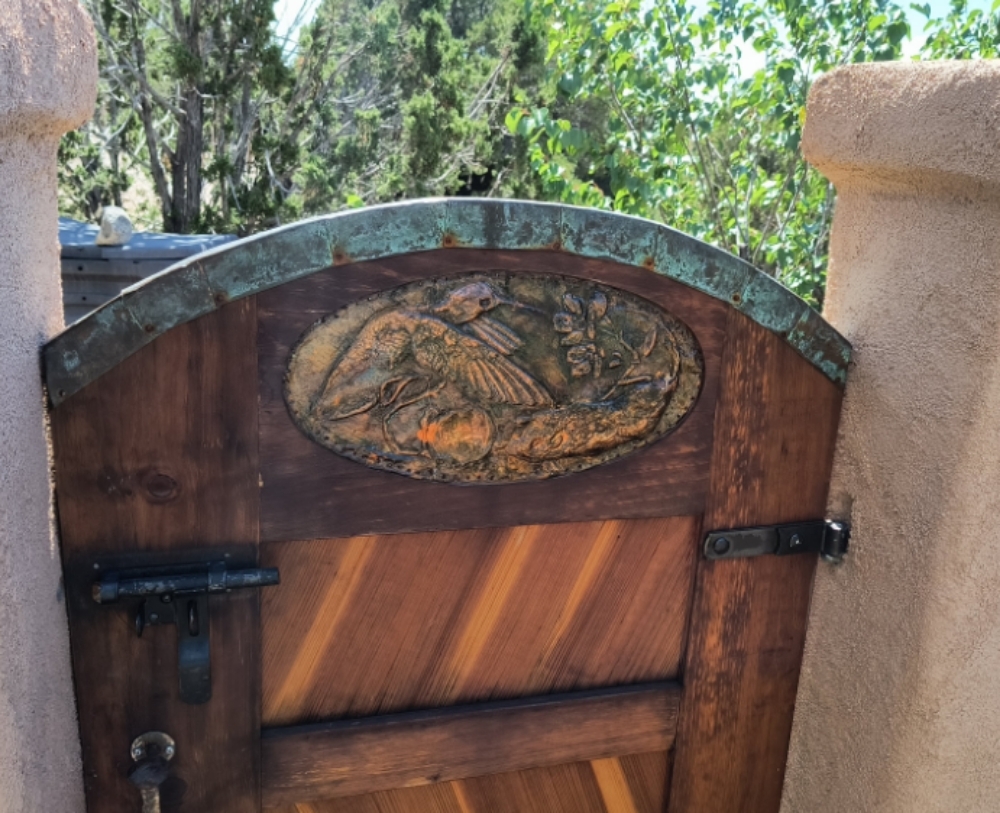
First attempt at repousse, a medallion for a garden gate featuring the garden’s most notable inhabitants. Hardware store-grade copper is, as it turns out, much too thin for this kind of work, and as much time was spent on reinforcing and protecting it as making the thing itself, but it’s a neat process I’ll have to develop further.
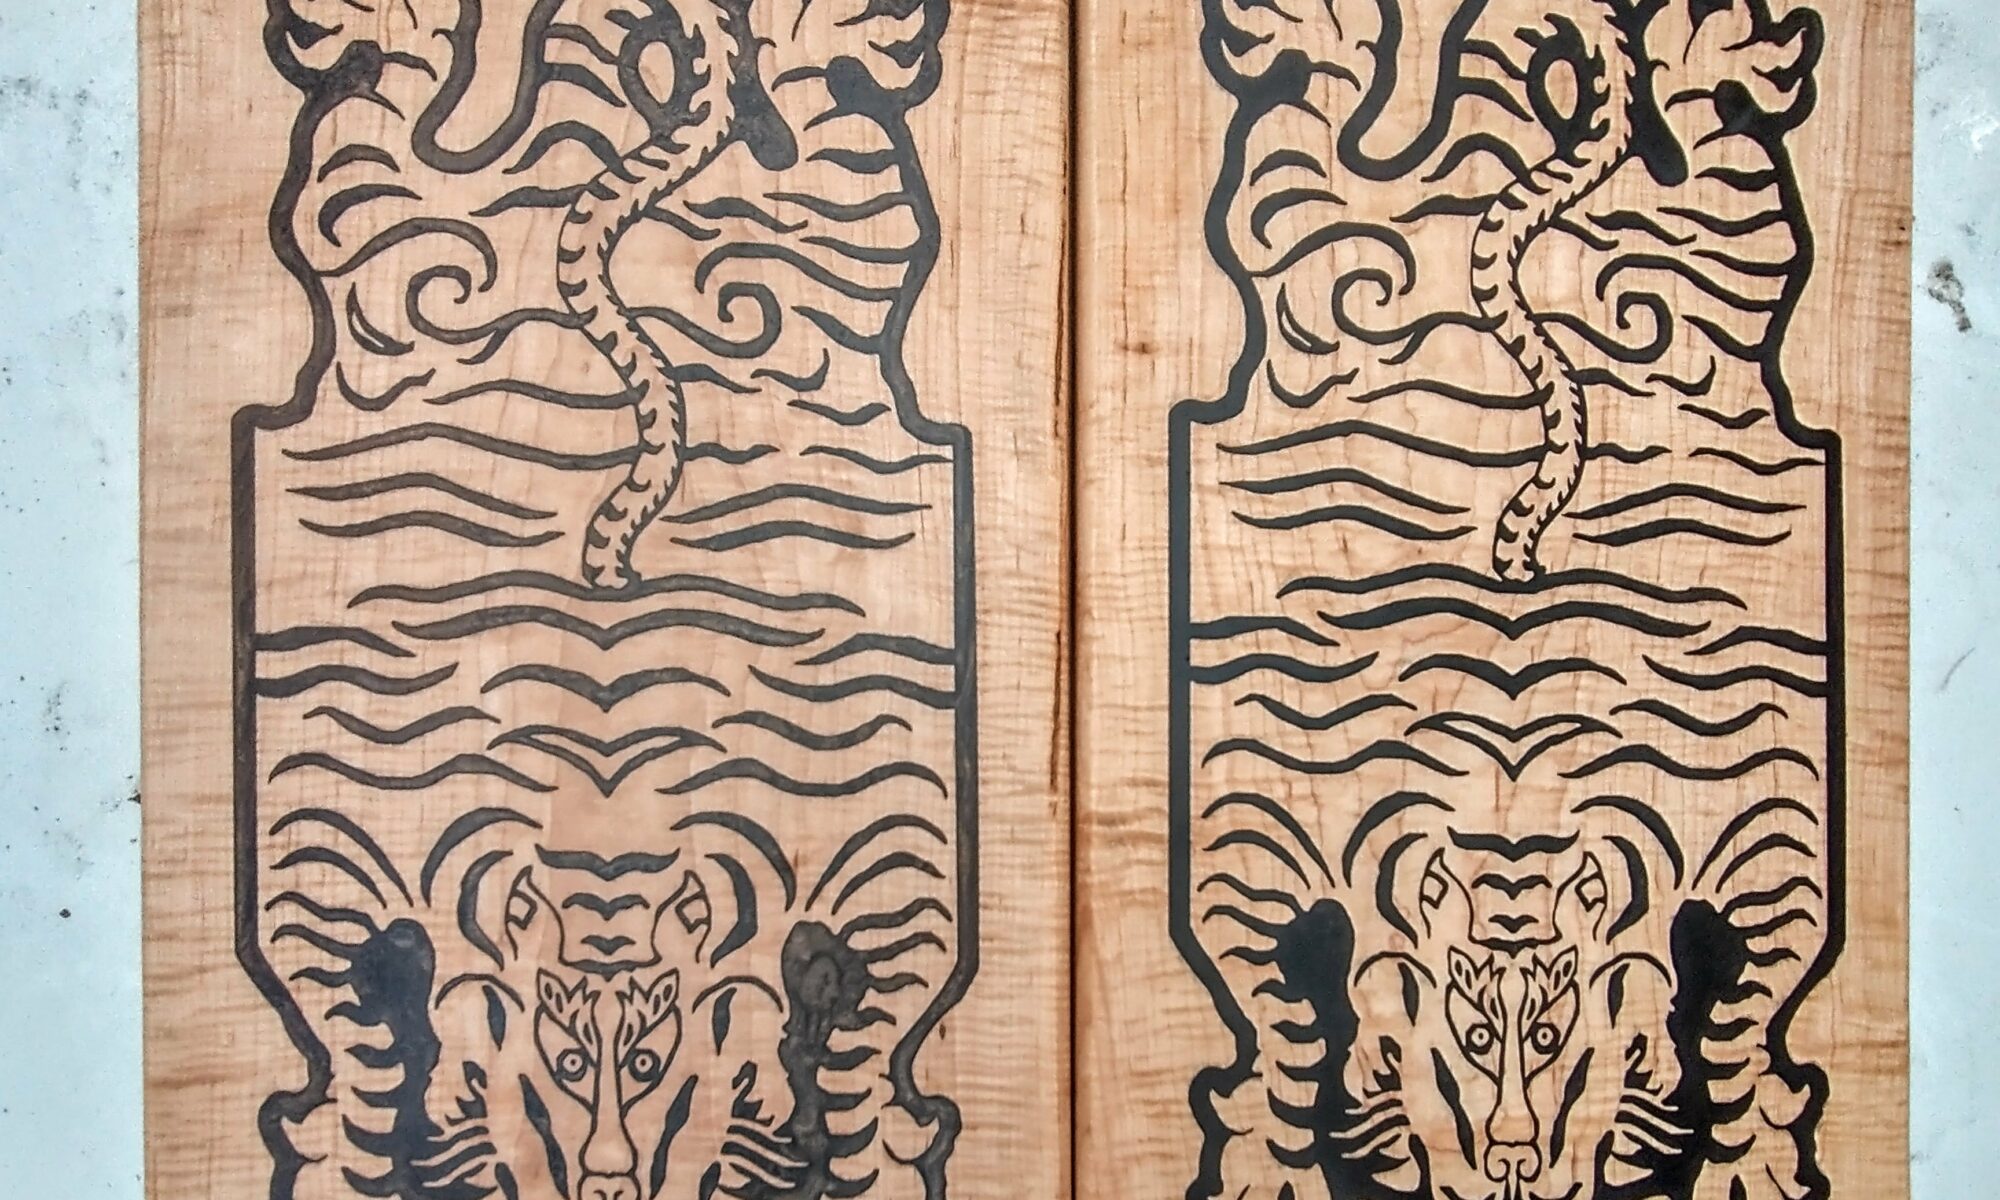
Based this design off an antique tibetan tiger rug as an experiment in laser-cut marquetry (didn’t work, made for extremely short cross-grain strips that disintegrated too easily to be worth the hassle) and then for a set of ornate cutting boards after a shop requested them. As I’m not particularly likely to run off more and it’s not really my design to begin with, if you can find a use for it it’s all yours
Behind a power substation on the edge of town there’s a giant pile where Baltimore dumps every tree that’s been felled in city limits for the last hundred years or so. Show up at the right time and you can strike a deal with the Log Man, who will carve up an entire cherry tree and sell it to you for a couple bucks a board foot.
To support the tree that made it wood excels at two things: an extreme strength-to-weight ratio, and absorbing and retaining a truly obnoxious quantity of water. Processing a log fresh off a live (or recently alive) tree can feel a lot more like carving a giant watermelon rind than cutting up the dry lumber you get from the store, the wood fibers rubbery and sodden with up to double their mass in sheer water weight.
You can go right ahead and use it this way, what’s called green wood carving, the simplest and oldest-fashioned way to get from a dead tree to something useful. It’s cheap (free if you live anywhere there’s still forests, the stuff grows on trees and people always wanna get rid of those); much softer and easier to hand-carve; and you don’t have to wait around all year to get your thing. The tradeoff is the wood will deform on you later, and deep cuts using power tools can be a bit fraught, as there are still great stresses in the timber that will relieve themselves as you go. It’s impossible to mass-produce anything this way, and you shouldn’t count on anything terribly complex lasting long, but you can grab a kiridashi or a hatchet or a particularly sharp spoon and get yourself a tool handle that fits your hand more perfectly than any factory-produced item in an afternoon, or find yourself a lathe and start turning out bowls if you have more patience for radial symmetry than I.
I’m not terribly sophisticated with green wood, but if you want to read up more about it, there’s a pretty good book on traditional green woodworking (or just converting a weirdly shaped stick you found into a useful tool) called Woodworking in Estonia that covers everything from carving tools to wagons.
Alternately, given a few months away from soil and rain cut lumber will gradually equalize its moisture content with the surrounding air, shrinking slightly (and unless you take measures to make sure it shrinks evenly, splitting) until sustained humidity or contact with liquid gives it the opportunity to swell up with water again. It’ll slowly breathe over the seasons, expanding and contracting about 1% of its width in a year around the former heart of the tree; but at this point it’s stable enough to do fancy furniture shit to, and kept indoors with allowances made for that movement whatever your make out of it can ride out hundreds of those cycles, many lifetimes.
Either way before or after you’ve finished working on it the wood is going to contract around the former center (pith) of the log, which will probably be torn apart in the process, as shown in the board above. Depending on where it was relative to that and what was going on in that part of the tree the rest is going to try to cup, or twist, or narrow, and will continue to flex back and forth in that direction to a much lesser extent forever. It doesn’t change very much after that initial drying, typically something on the order of 1/8″ per 2′ of width (you can calculate more exactly for your specifics here), but if not allowed to move somehow it will eventually build up a ton of internal stress that’ll relieve itself in some terrible way you did not plan for. Glue joints will fail, unsupported sections will warp, or failing that the wood may just give up and split wherever it’s weakest.
Things that last are generally designed with some wiggle room built in, with grain facing in complementary directions a much as possible and built-in ways to channel the expansion in some non-destructive way. One of my early tables (above) was just butt-joint glued to an apron that ran across the grain and didn’t give the top anywhere to go, and now years later is in the process of pulling itself up and away; these days I use much more stable breadboard ends with a dovetailed slide pinned at the center, to allow the top to get a bit wider or narrower, but not bend vertically or get pulled away from the apron.