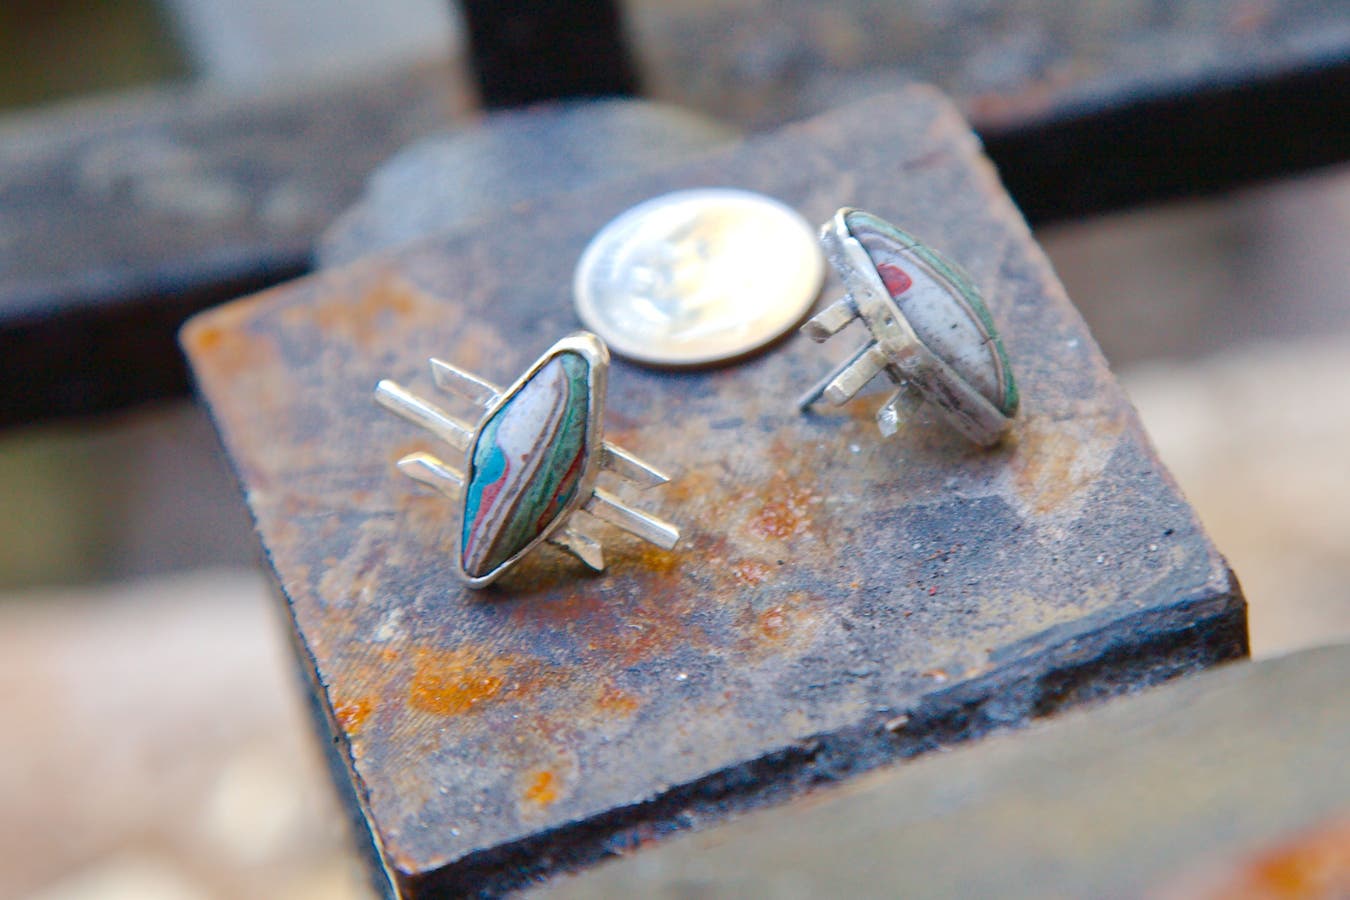
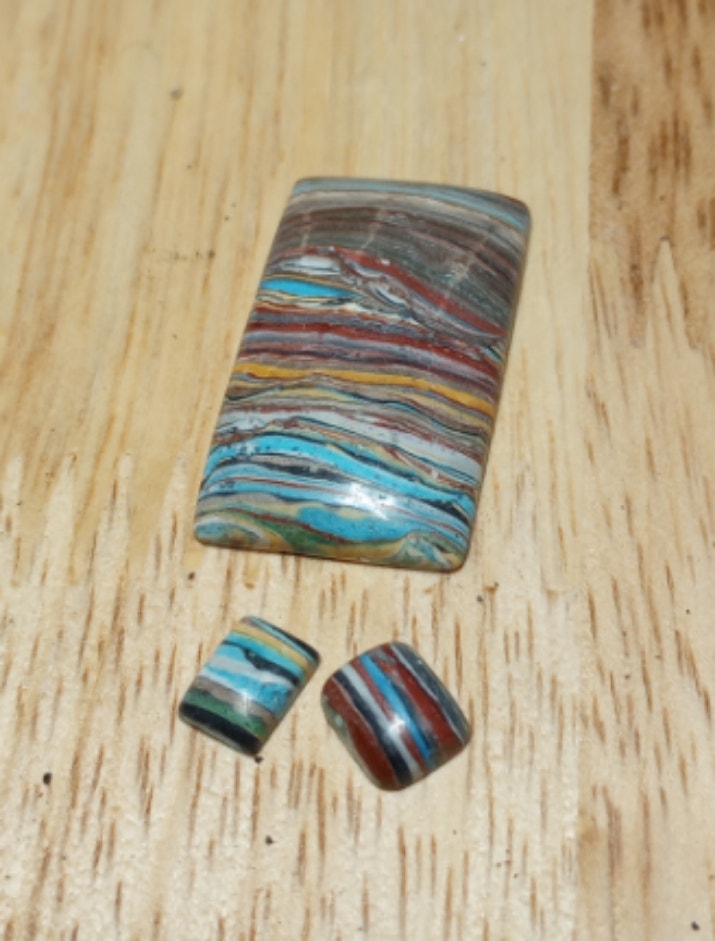
As far as I know there’s only one shop in downtown Santa Fe where you can get these, as cabs, under the extremely made-up name “talaverite”. I couldn’t figure them out for years: weird sedimentary-looking deposit but very hard and takes a high polish; not dyed but those colors in that combination can’t possibly be natural.
If you catch Forrest on a good day, though, he’ll show you one of the roughs he cut it from, with a fossilized 1/4″ bolt partially sticking out. They’re glaze deposits mined from a Mexican tile factory, like Fordites but stony and earthtoned. Aside from looking cool as hell if any magic inheres in stones it’s from the small genre of gems pulled not from the bowels of the earth but from delves into the guts of longrunning heavy industry.
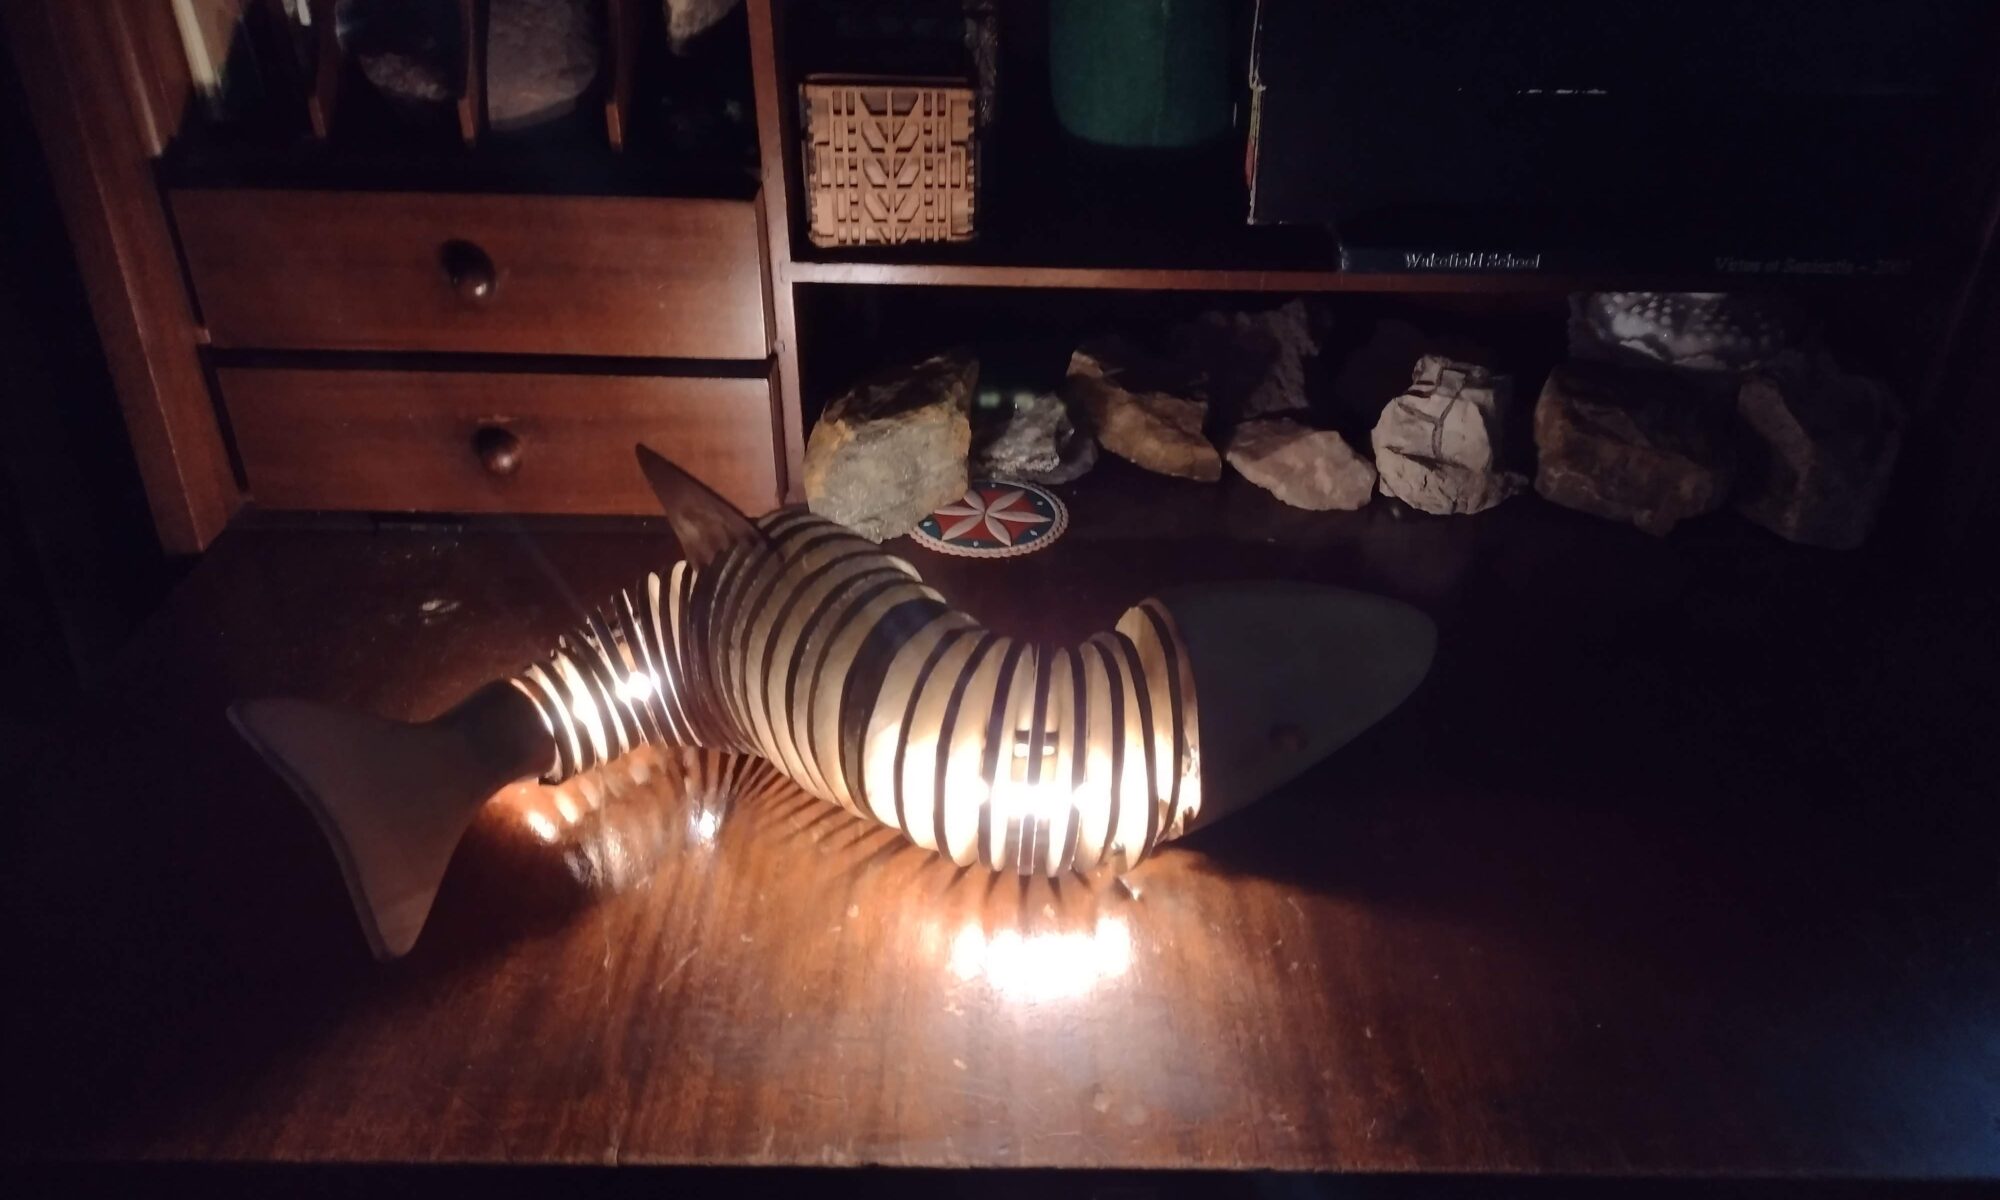
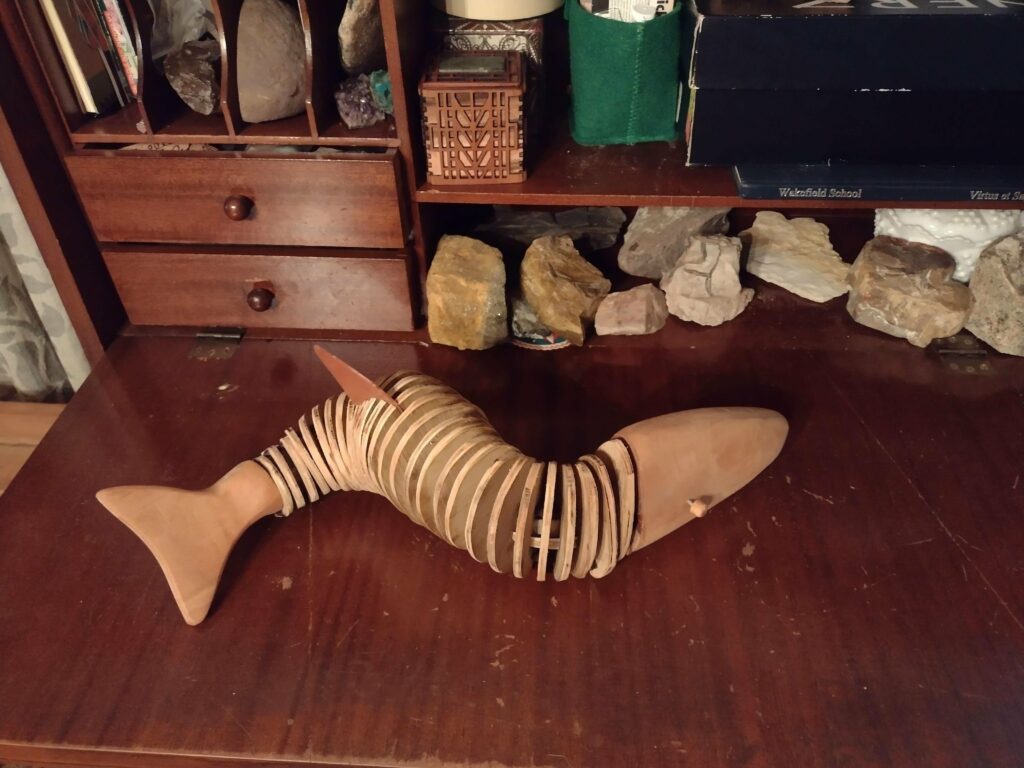
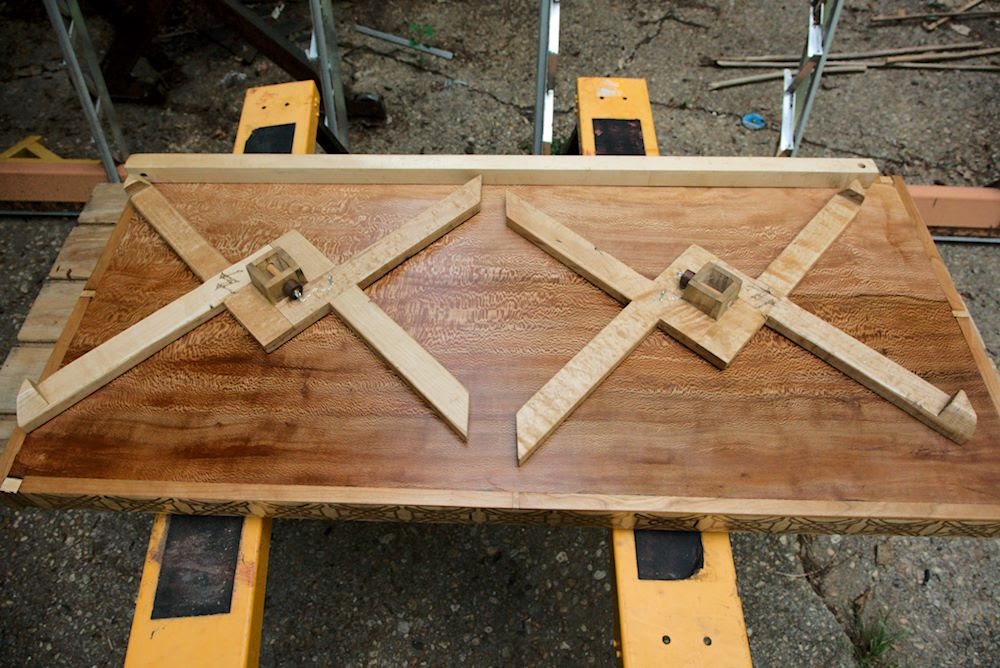
These pictures don’t really do it justice but this was a pretty nice piece of sycamore scavenged from another furniture maker’s burn pile, turned into a table, and then repurposed again to upgrade a desk. Badly warped when I got it, flattened there was only about a 1/2″ thick slice of wood there, but a single 18″x50″ slab of quartersawn; I don’t even want to think about how old the original tree must have been. As a first try at the collapsing-leg quick-release system shown below, it was kinda eh as a table and has been supplanted by more developed examples, but the top was still a pretty nice piece of wood so I’m glad it found a second life here.
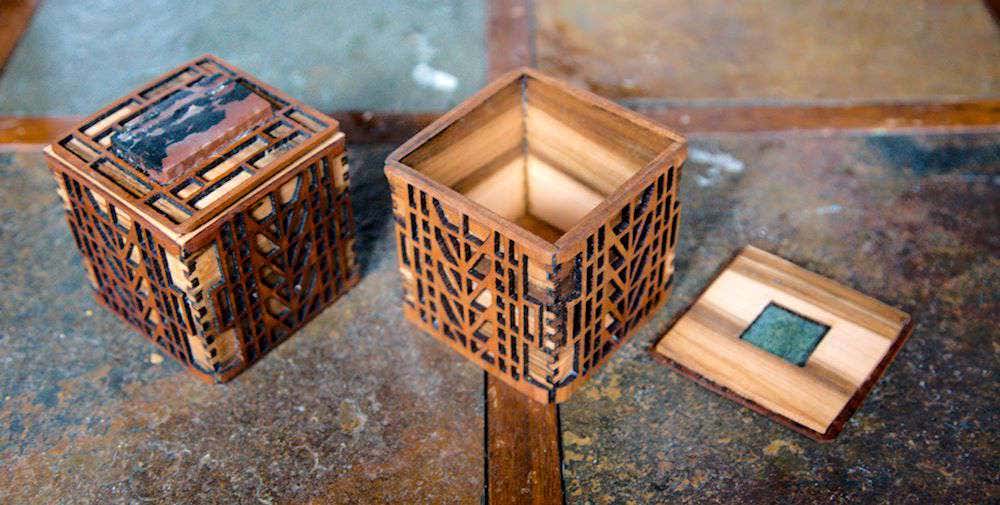
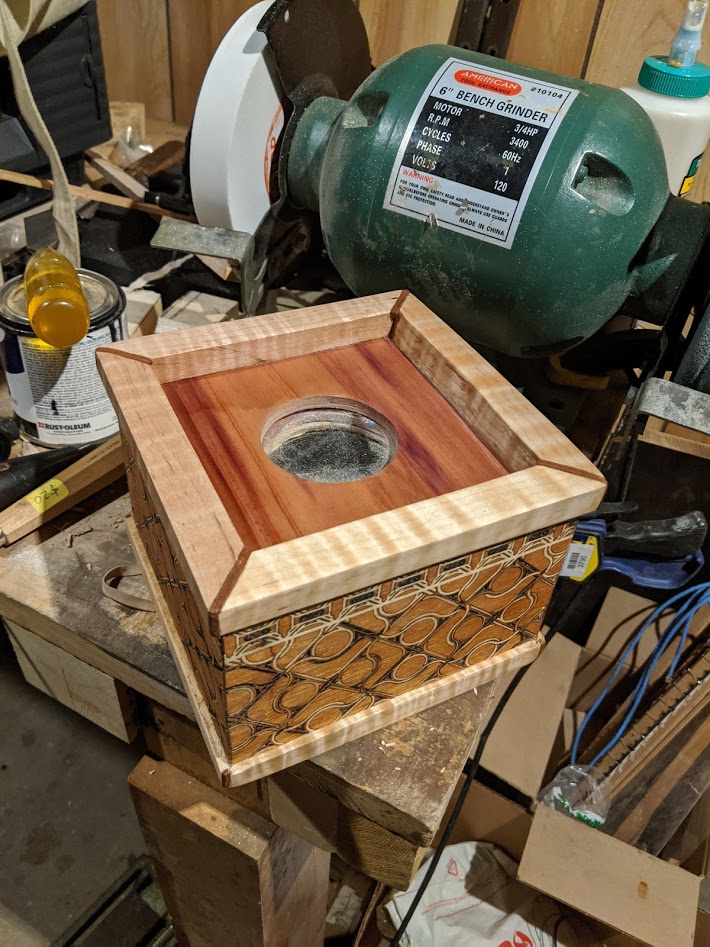
2″x2″x2″ stash box, cherry outer layer, ambrosia maple inner, and uuuuh rocks. Going to rework the lid a bit if I run off another batch of these, initially drew this for a more single-use type design and the lip is still a bit fragile
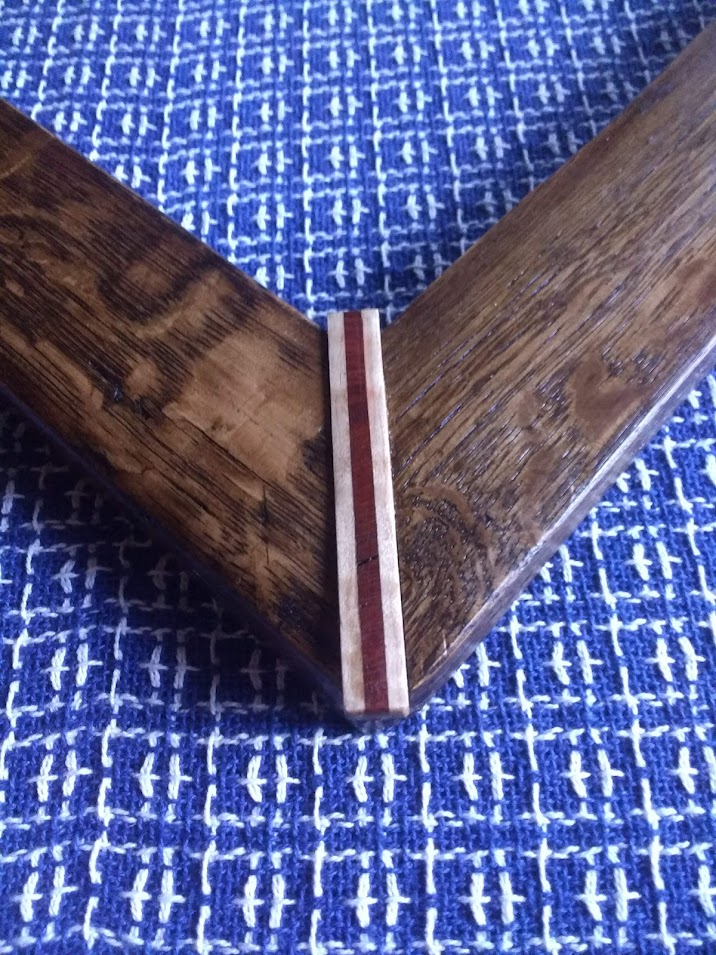
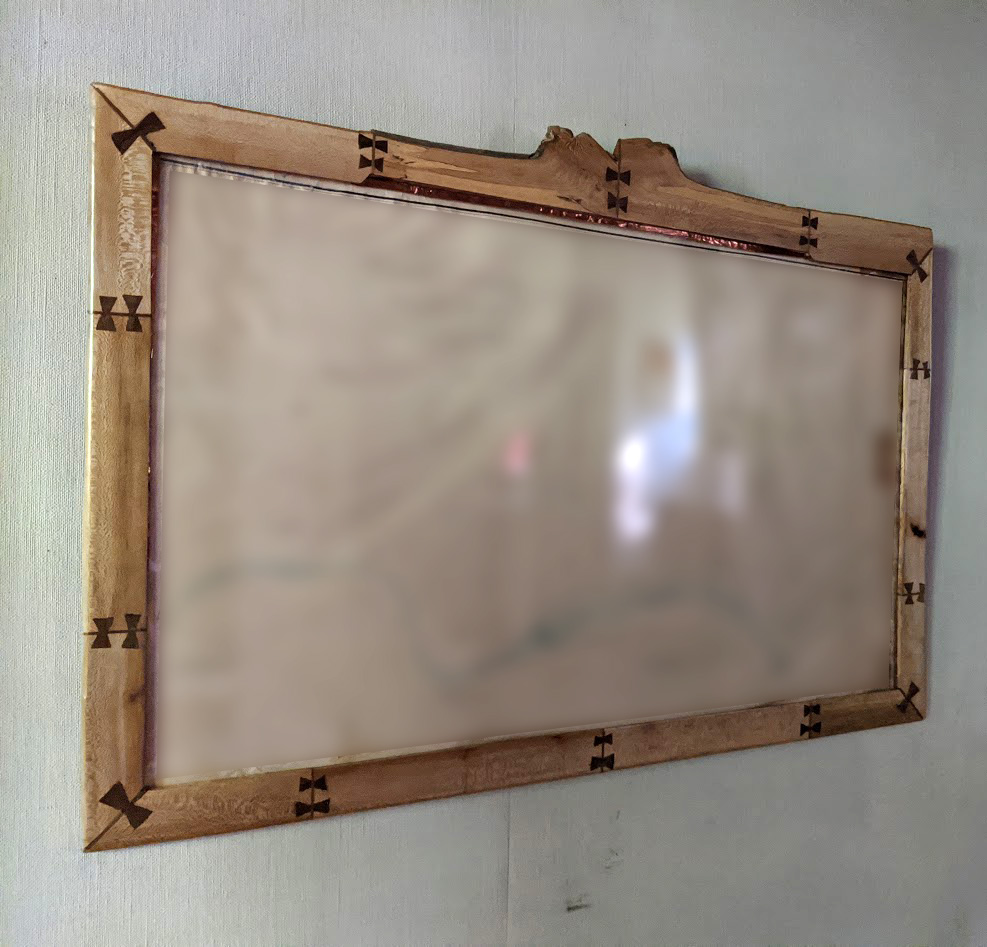
Frames are pretty boring, but extremely simple to make. No real load on them, no technical demands, just cut a rabbet big enough for whatever you’re going to stuff in there and make four structurally reasonable right angle joints. For the simplest ones I’ll just screw a plywood sheet behind the corners, it gets it very flat and tough and nobody’s going to be popping the picture out and replacing it anyway. Maybe one of these little keys over the front miters, to cover the seam
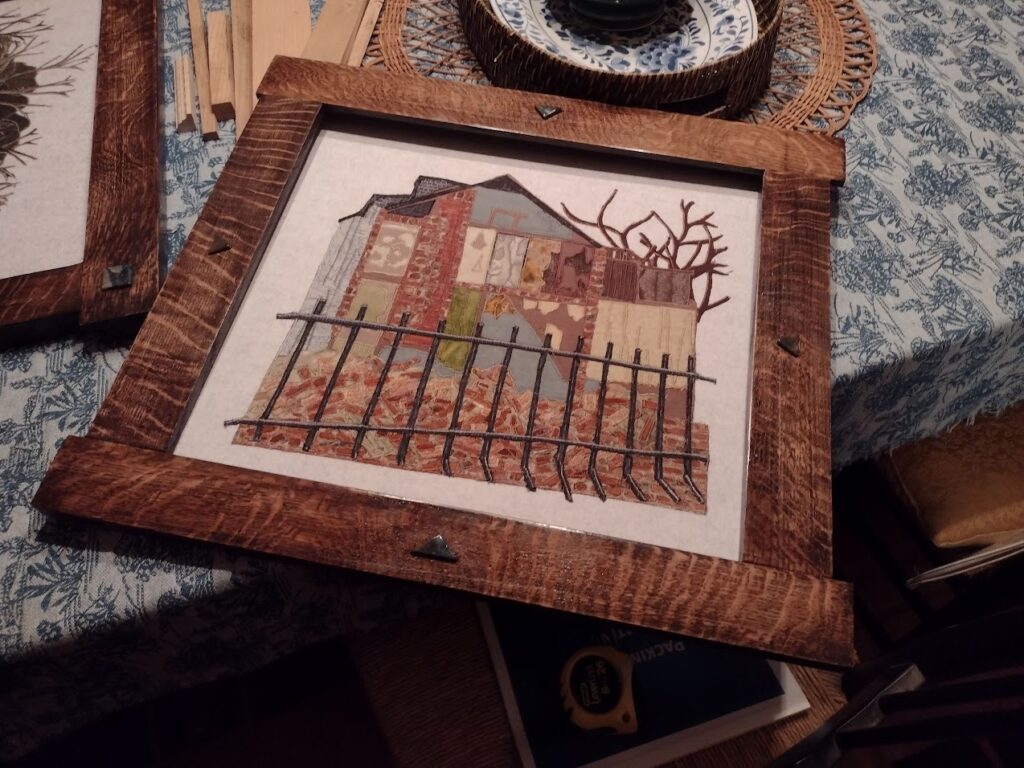
If you’ve got some cool looking material to work with, you’re done, everyone loves figured wood.
If the material sucks, just stick a thing on it, go crazy. This thing was originally a stack of firewood, all about 6″ long
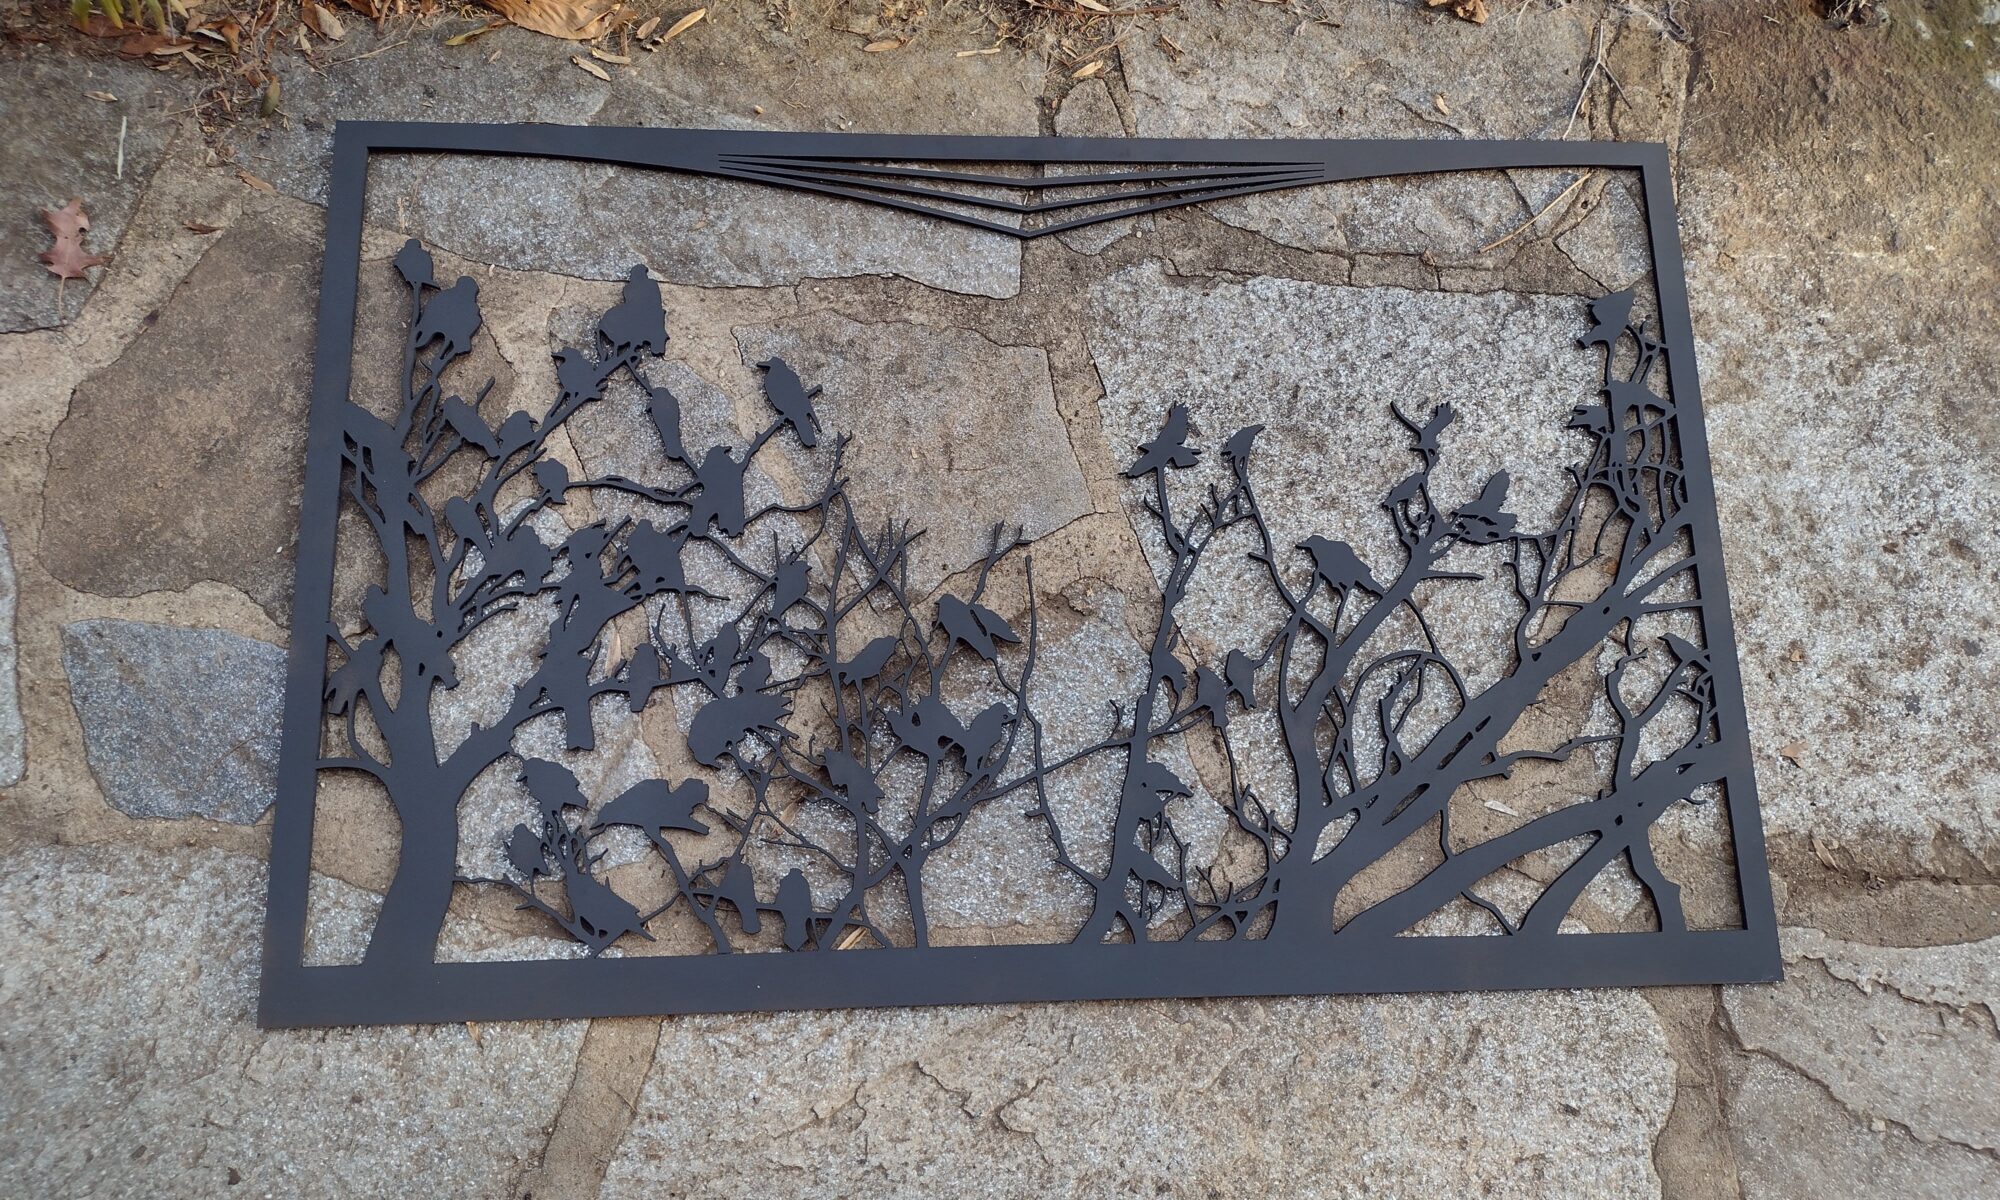
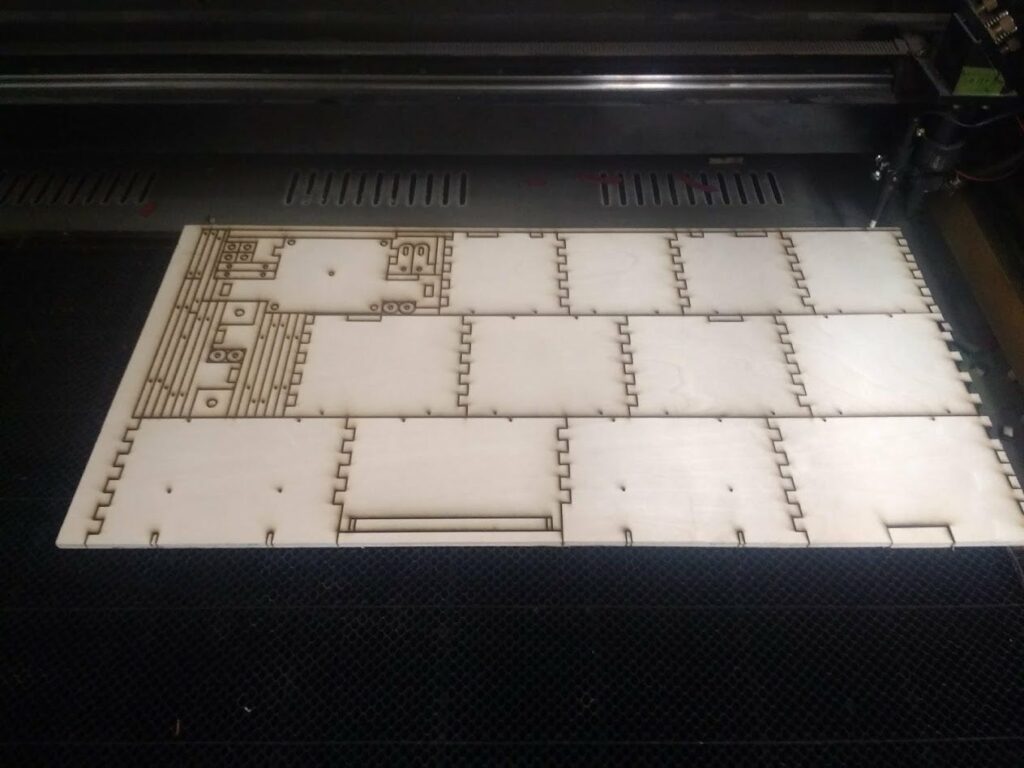
On occasion, you get one with more complex demands
New transom window screen, ready to go up. The design is a little more, I don’t know, literal? than I usually like to do, but the owner wanted ravens and ravens it does have
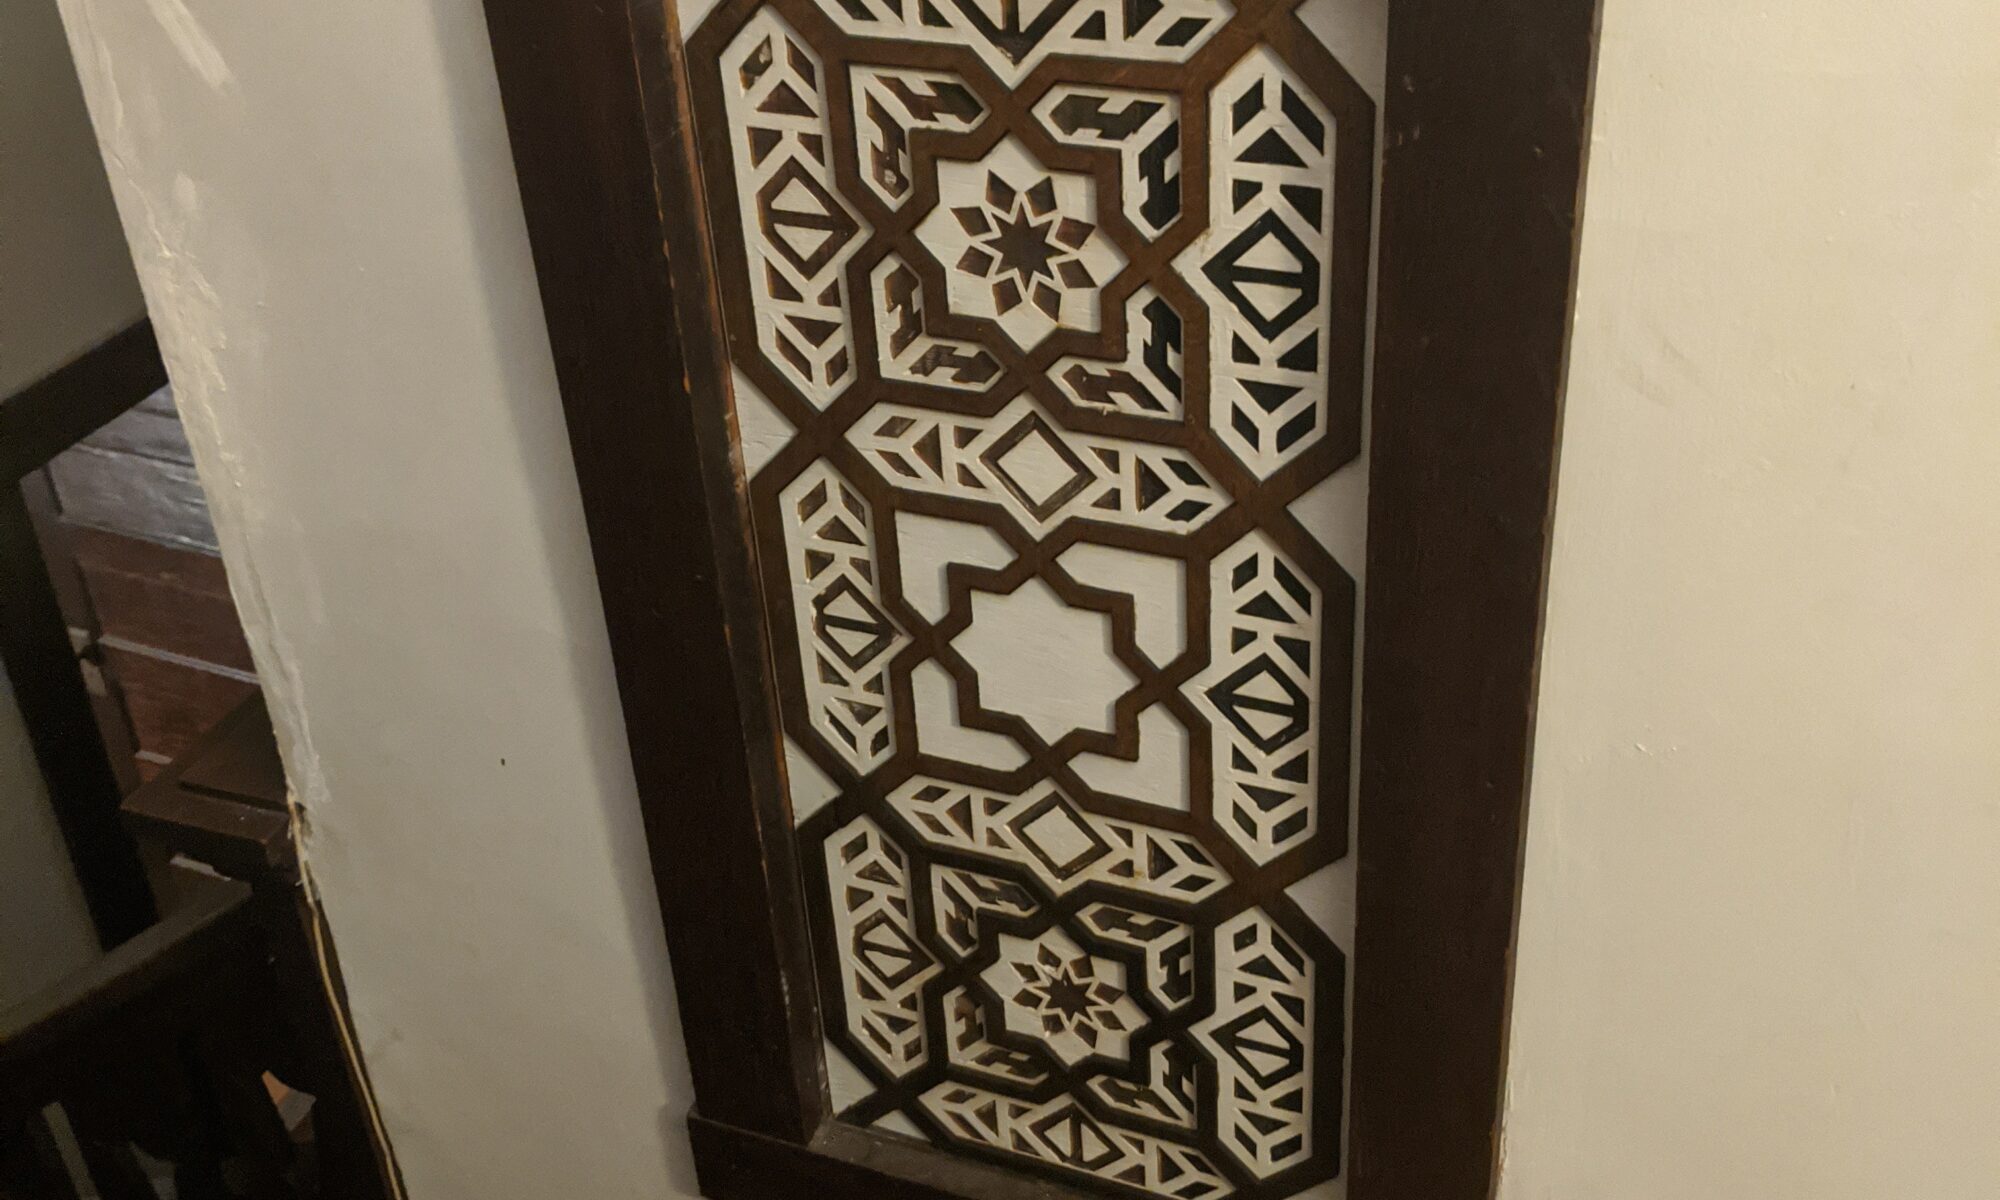
Sulfur inlay is a sort of obscure historical process that was only ever heavily used by a generation of two of Amish, a substitute for fancier traditional materials like ivory that weren’t really available to an 18th-century luddite in rural Pennsylvania, but still has some distinct advantages over modern epoxy fillers if you’re a smalltime craftsperson shooting for a more traditional/natural effect and don’t mind everything being some shade of yellow-white. It’s also extremely cheap and simple to get started with, so I’ve been experimenting with it as an option for more elaborate designs I really don’t want to cut marquetry for.
Sulfur powder is commonly available as a fertilizer and chemical reactant, you just melt it to a watery consistency at a hair over 200°F and pour over whatever you want filled, where it’ll rapidly recrystallize and (crucially) expand as it cools, locking it firmly in place. Once cast it’ll last as long as the underlying material does, and if you ventilate well it’s downright eco-friendly compared to most plastics – I wouldn’t sprinkle it on a salad, but you could apparently ingest it all day and not get much more than an upset stomach, and the salad greens would love it. It cleans up much quicker and cleaner than epoxy does – and if you don’t get sawdust and crap in it, which will stain it a blotchy dark color fairly quickly, whatever you scrape off or don’t use can be melted down and reused indefinitely.
Now the downsides: it’s sulfur, the medieval shorthand for what hell smells like. Standards for industrial odors have declined considerably since those days, and I don’t have much of a sense of smell anymore anyway so I don’t much care, but it’s decidedly antisocial, and you’ll be smelling like it for a while afterward. If you manage to light it on fire (which doesn’t take a whole lot) it burns with an invisible flame and gives off some very nasty toxic fumes, which react with water (like the kind your eyes and lungs are covered with) to produce sulfuric acid. To head this off the Amish would apparently bake it slowly outdoors in a sealed clay vessel – we have the advantage of induction burners with no exposed combustion, but you still want to keep an eye on temperature and keep it right around its melting point. And make sure the stuff you’re getting is actually pure sulfur, not some weird fertilizer mix; my first try I used some ebay mystery powder with some kind of absurdly low-combustion-point additive and teargassed the lot of us.
Unfortunately it tends to form bubbles as you pour it out, which I’ve combatted with some success by remelting the surface with a heat gun, but as you can see below it’s still not suitable for large expanses of perfectly even inlay. Will see eventually if a vibration table can fix this, but so far it’s got a strong potential provided you’ve got an outdoor space and local cops don’t care if it looks and smells like you’re cooking meth in your yard.
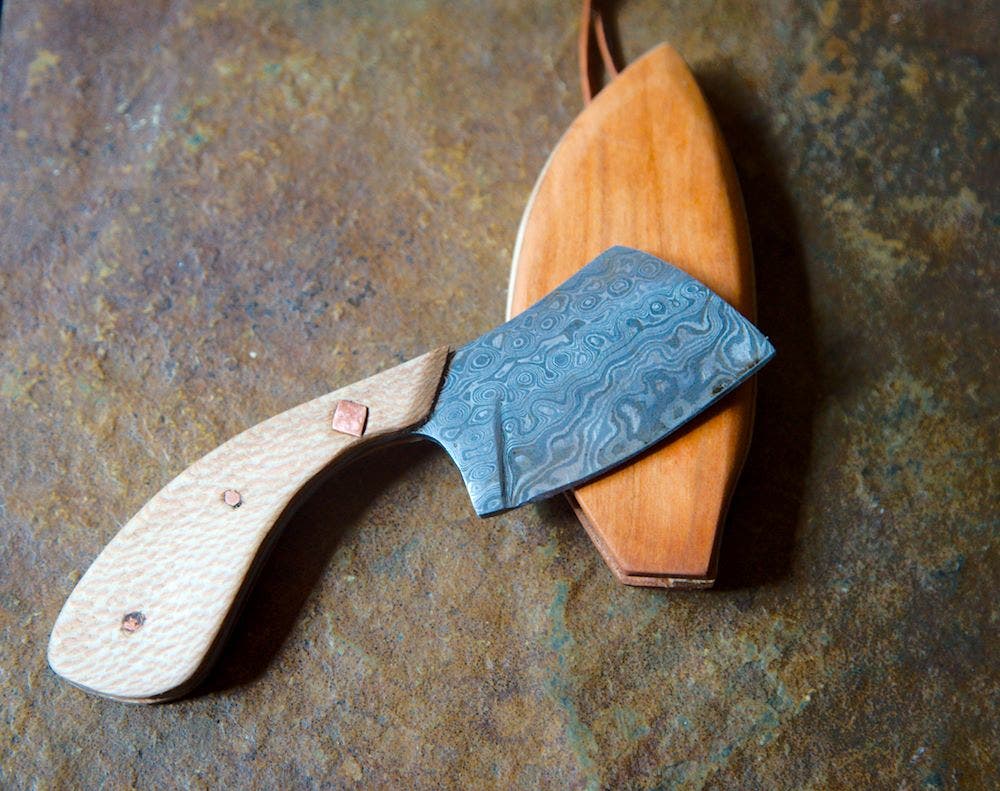
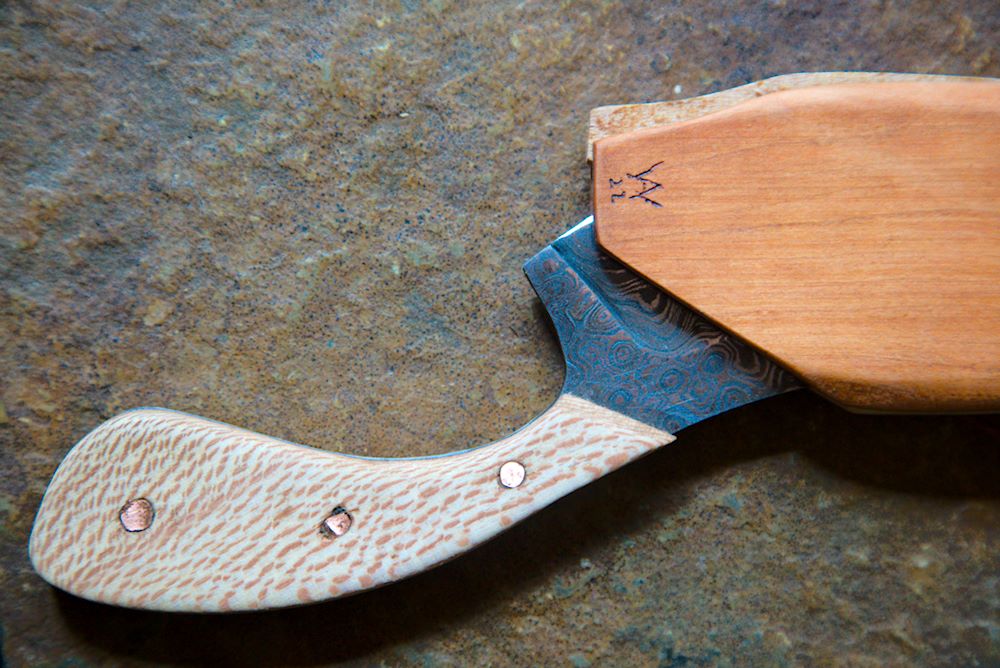
A necklace knife made after my wife started getting really into Forged in Fire. Blade came from ebay, as we don’t have a proper smithy around (yet); handle is all roofing nails and sycamore scraps; the sheath is built with a wooden ‘spring’ that latches around the heel of the blade to lock it in place when it’s just hanging there but yank loose when you need it. That part only works on pretty short, lightweight knives but was pretty fun to work out, I’ll probably try some more if I need to stock a fair or anything next year.
Realizing now I forgot to get any pictures between finishing the sheath with a woodburned pattern and selling the thing
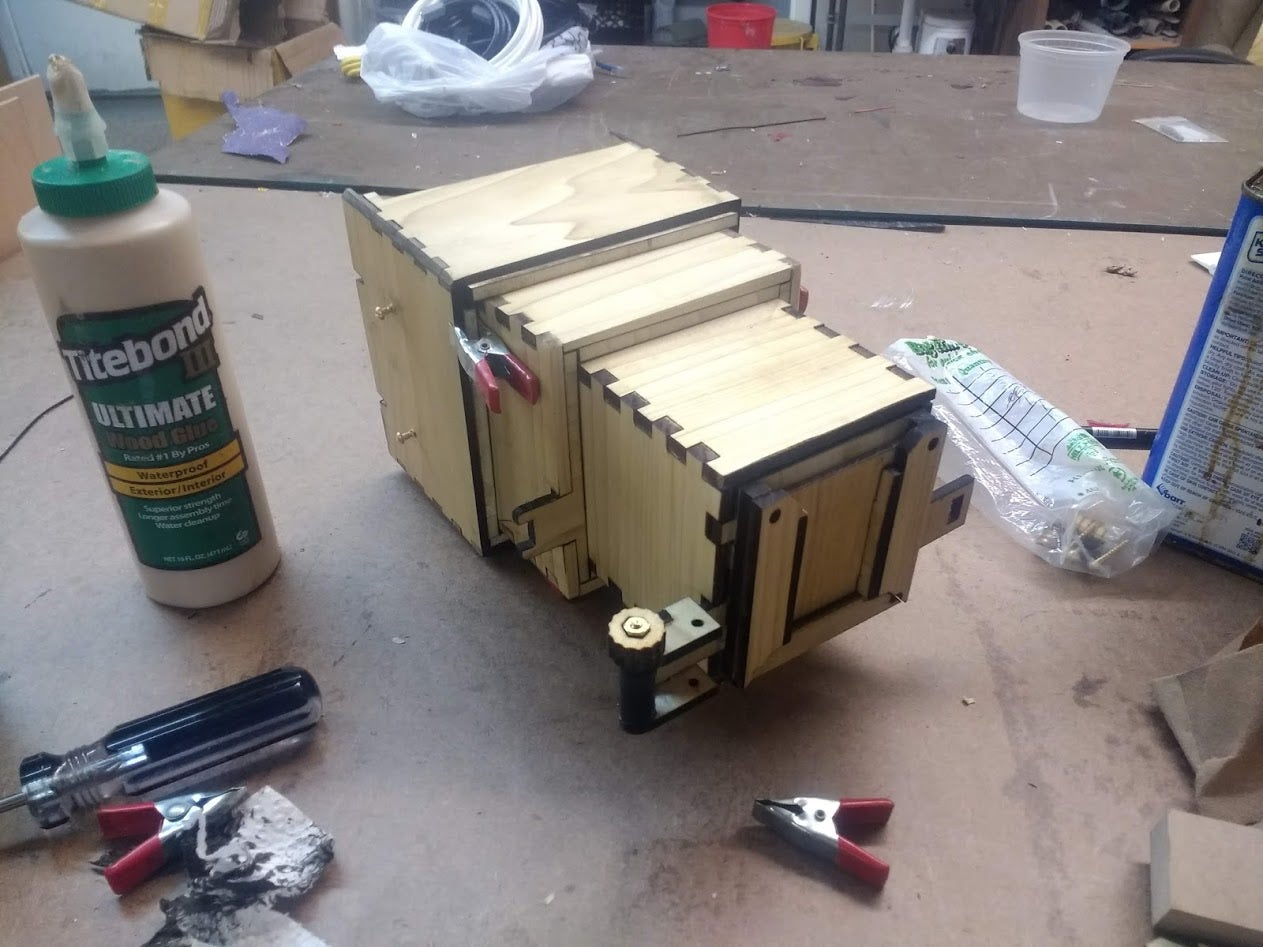
Every now and then I’ll bump into a box of an old project I don’t have the time or energy to finish and get real mad at it, like this disposable 4×5 camera for wet plates I was gonna package up with a portable darkroom. Had mostly beat the light leak problem when it got pushed onto the finish-maybe-someday pile, but not the problem of how to develop in the field without spilling $50 in silver nitrate everywhere, which was kinda counterproductive to the whole cheapo DIY thing.