
I wanted to follow up on this project once I’d gotten a picture of how it will look longterm, it’s been six months in and out of conditioned spaces and looks exactly like it did six days after finishing so I guess this is it.
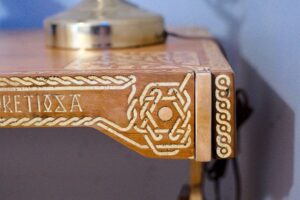
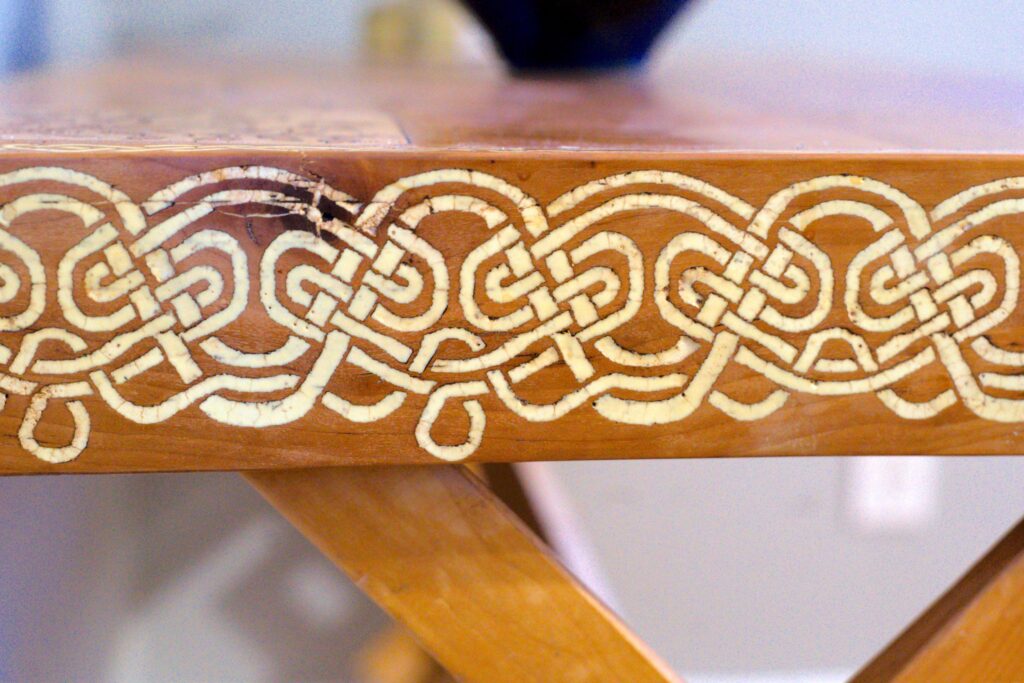
The yellow coloration has faded slightly to more of an off-white. Not quite the red-and-cream I’d envisioned initially, it’d look better on a darker wood substrate (and seems at least initially to reject wood stains, so there’s options there), but much less garish than it was in the first week. Within hours of cooling the sulfur had formed a spiderweb of dark cracks throughout (possibly stained by fine sawdust from sanding shortly after?), more dramatic wherever it was shallower/thinner, but apparently still stable. Through months of riding around the east coast in the back of a pickup truck it only ever lost one chunk in the first couple weeks, shown above. Even where I stupidly let the design run over an edge (like on the pull tabs below) it’s holding very fast to the substrate material. I’d still rate it a lot less suitable for any surface that’s going to see wear than the 1/8″ wood inlays I’ve been doing previously, but mostly because I’ve come to a new appreciation of just how goddamn tough Titebond really is. Assuming this stuff continues to hold more or less indefinitely I can live with the cracking, it gives the whole thing a nice aged ivory look – the main visual defect I will have to contend with are the bubbles that formed on casting and never really went away, no matter how much I heated or sanded or tried to fill in. Something like a vibrating table may help to shake them loose while the sulfur is still molten in the future, will have to experiment.
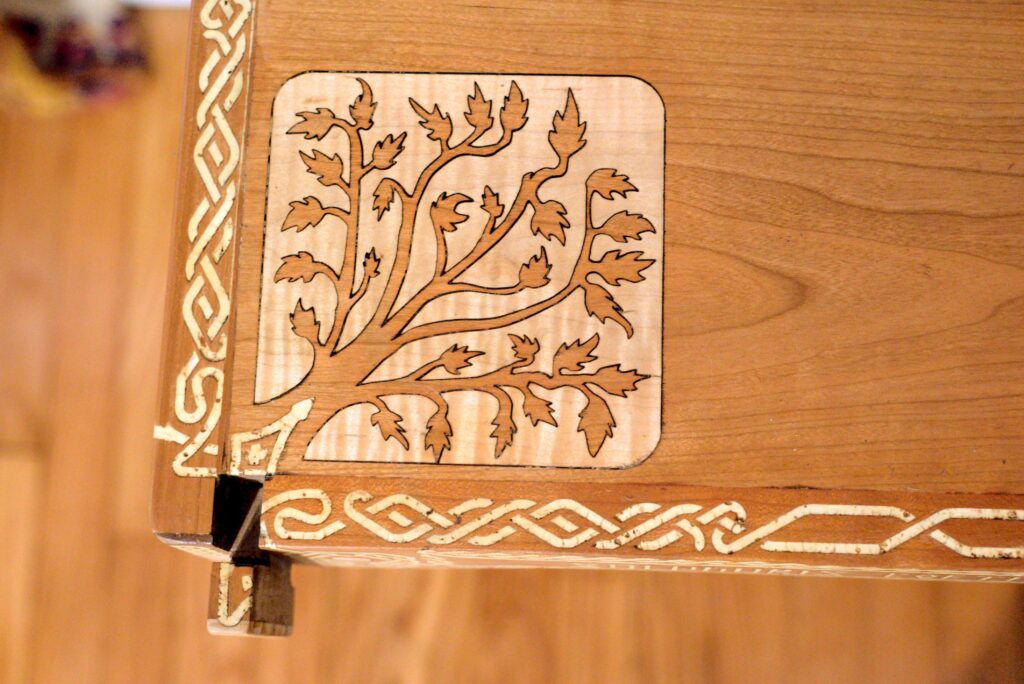
Compared to poured epoxies (and most other goop I’ve seen used for inlays) molten sulfur is both very thin and, once cooled, very opaque, leading to it visibly peeking out of any void including just the pores of the wood. Great for extremely fine detail, a killer on porous woods like oak or mahogany. On the cherry here I had only a few places I couldn’t mop up adequately with a few passes of a heat gun and paper towel but I hadn’t noticed this tendency in the early pieces I did and it made a mess here for a while.
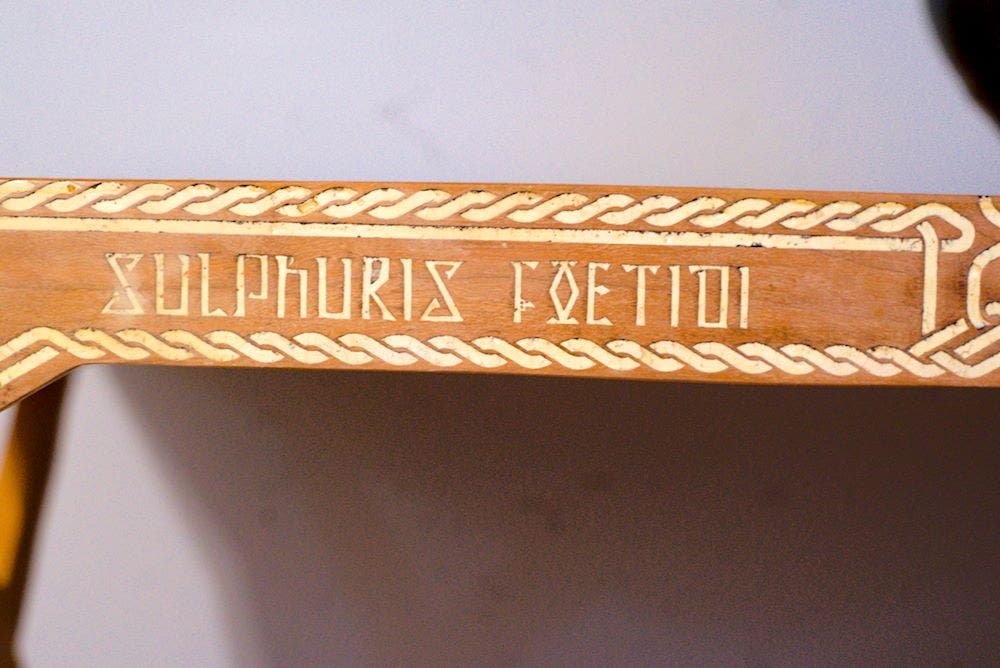
It’s also very visible where I didn’t completely sand off any spillover:
It’ll be a while before I’ve rebuilt enough of my shop to really apply any of this on a new piece, but I should be able to pull off some cool effects playing more to its characteristics in the future rather than treating it like smelly epoxy.