A sage once told me there’s a rule of thumb for when a piece is completely finished: when you’re sick of looking at it, it’s time to ship


A sage once told me there’s a rule of thumb for when a piece is completely finished: when you’re sick of looking at it, it’s time to ship
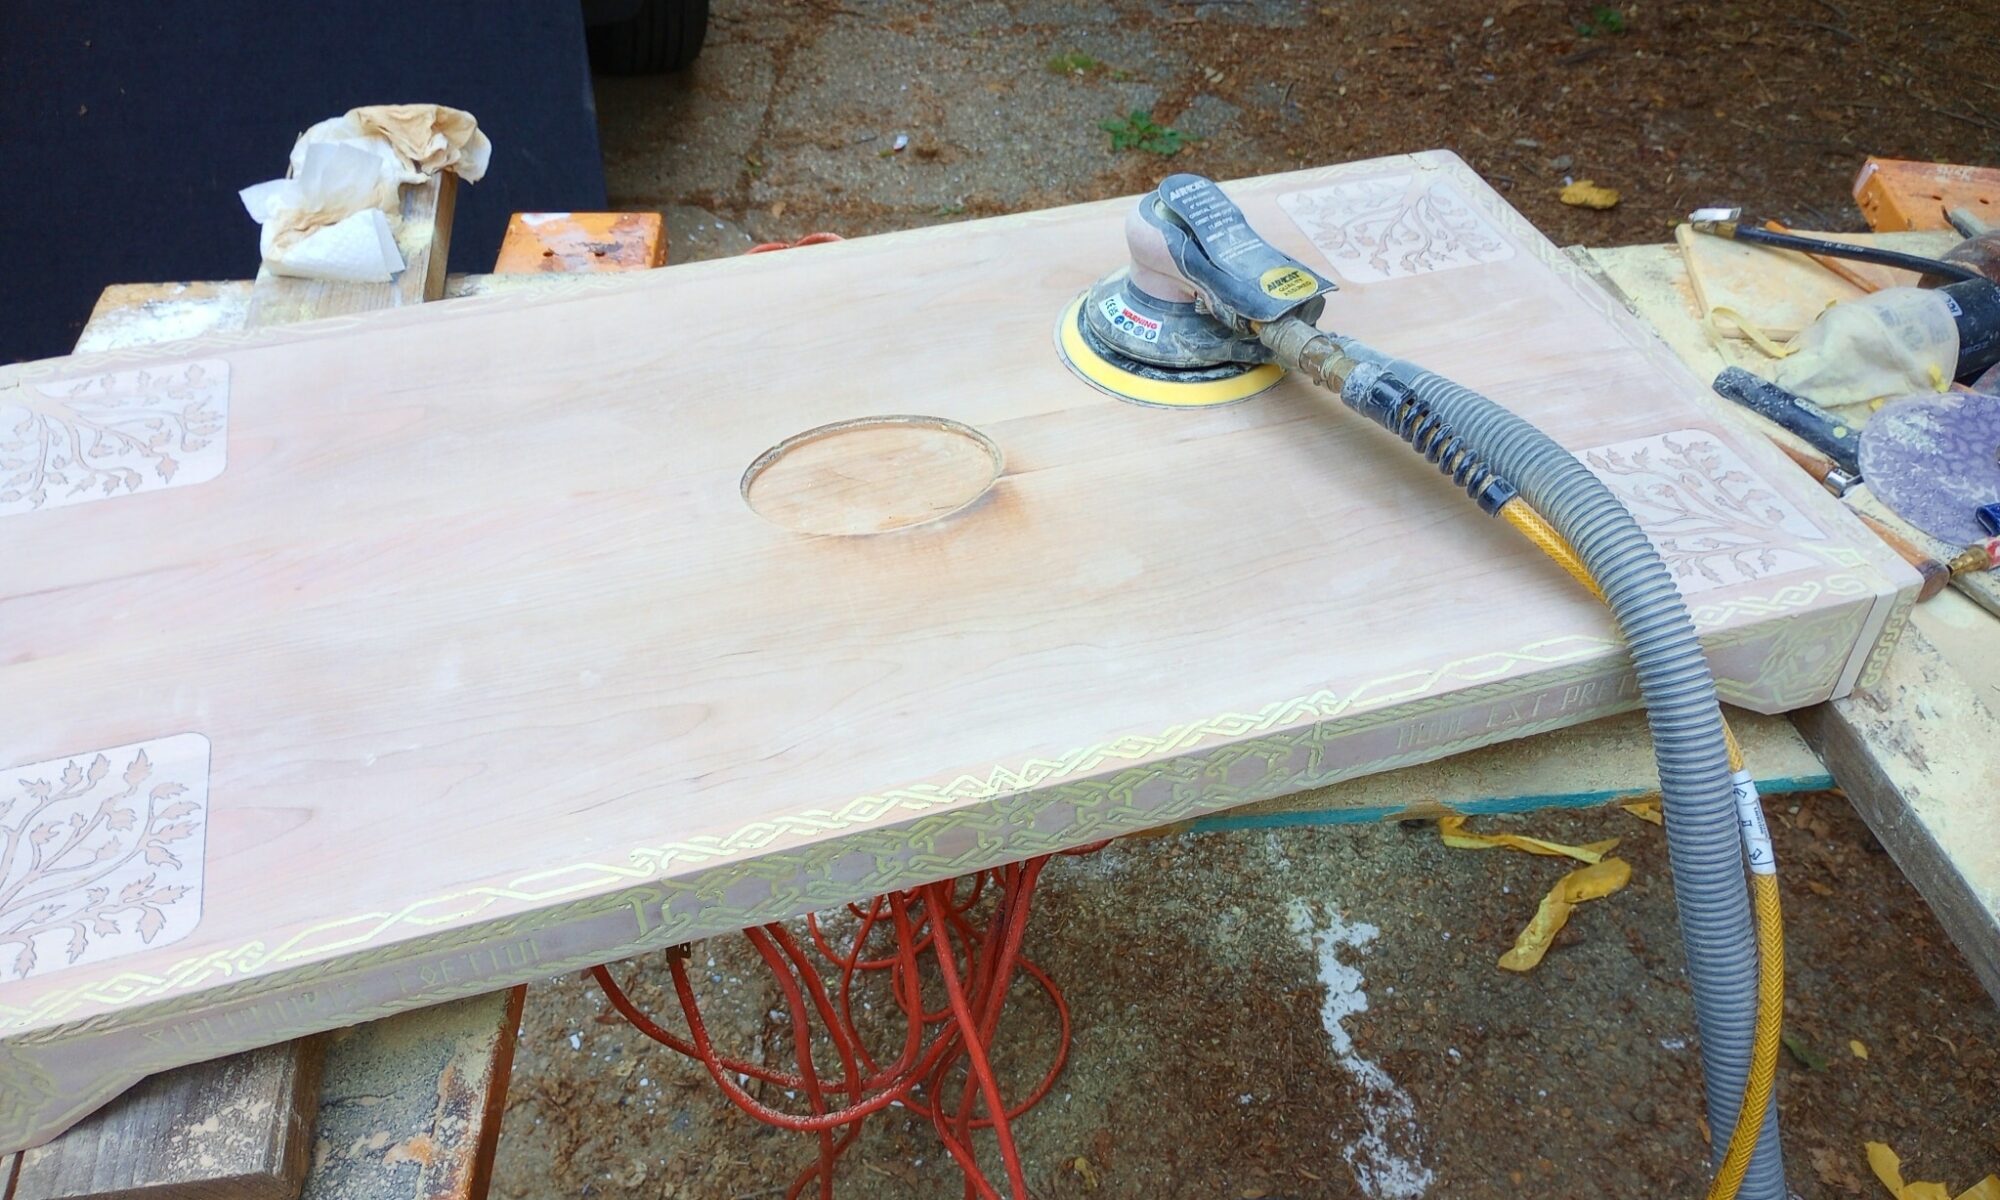
There must be better ways to do this but the dollar store pot i’ve been using to melt doesn’t allow for much precision, so it just gets everywhere and then solidifies within a second or two. With such a short set time, tons of bubbles just under the surface are inevitable, but a pass with a heat gun and a smaller second pour minimizes them – nice thing about sulfur vs. epoxy is if you don’t like how things are going you can always remelt it and try again. Some kind of vibrating table arrangement might reduce the need for a second pass but there was no time to try it for this one. Then just sanding, hours and hours of sanding.

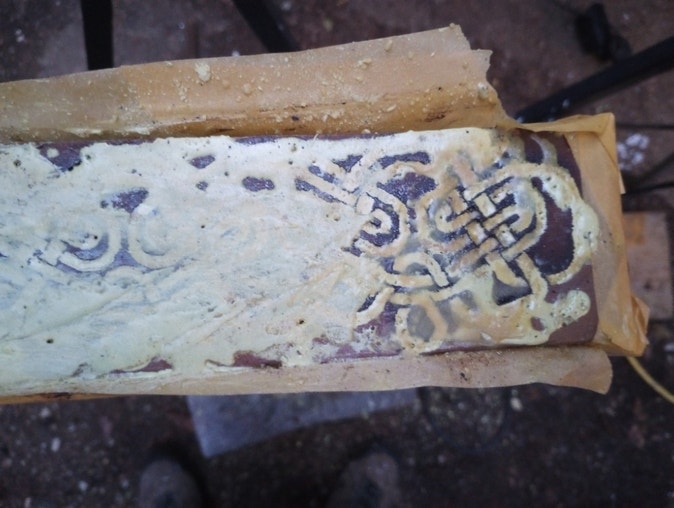
This one still has that gross fresh tattoo look but this is about as good as progress pictures get. it’s about to look way nastier, and unreadable, for a couple days as i put in the sulfur layer and sand it down until it looks fancy and not like a slime mold is growing on it
might have to switch to auto polishing gear
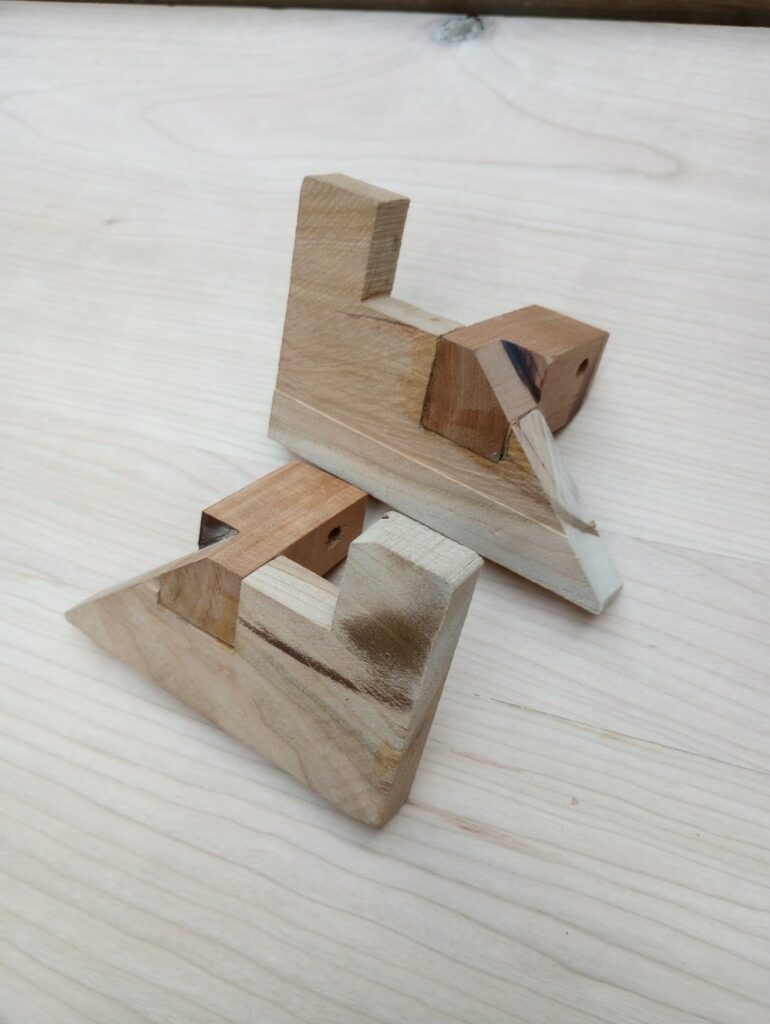
going to work on a silly one
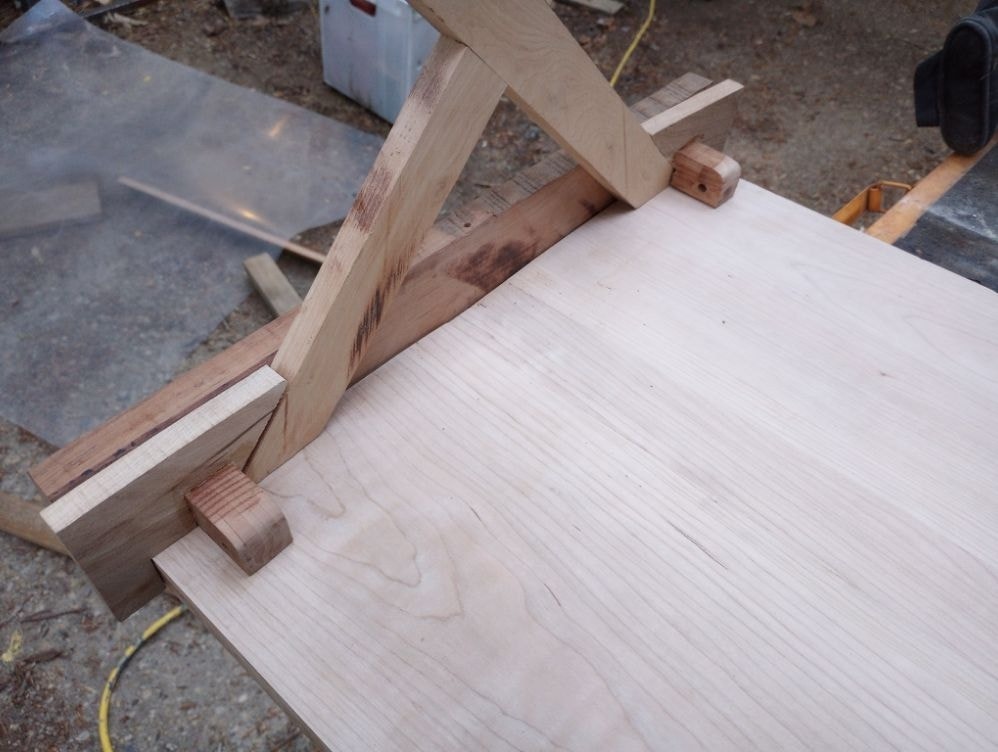
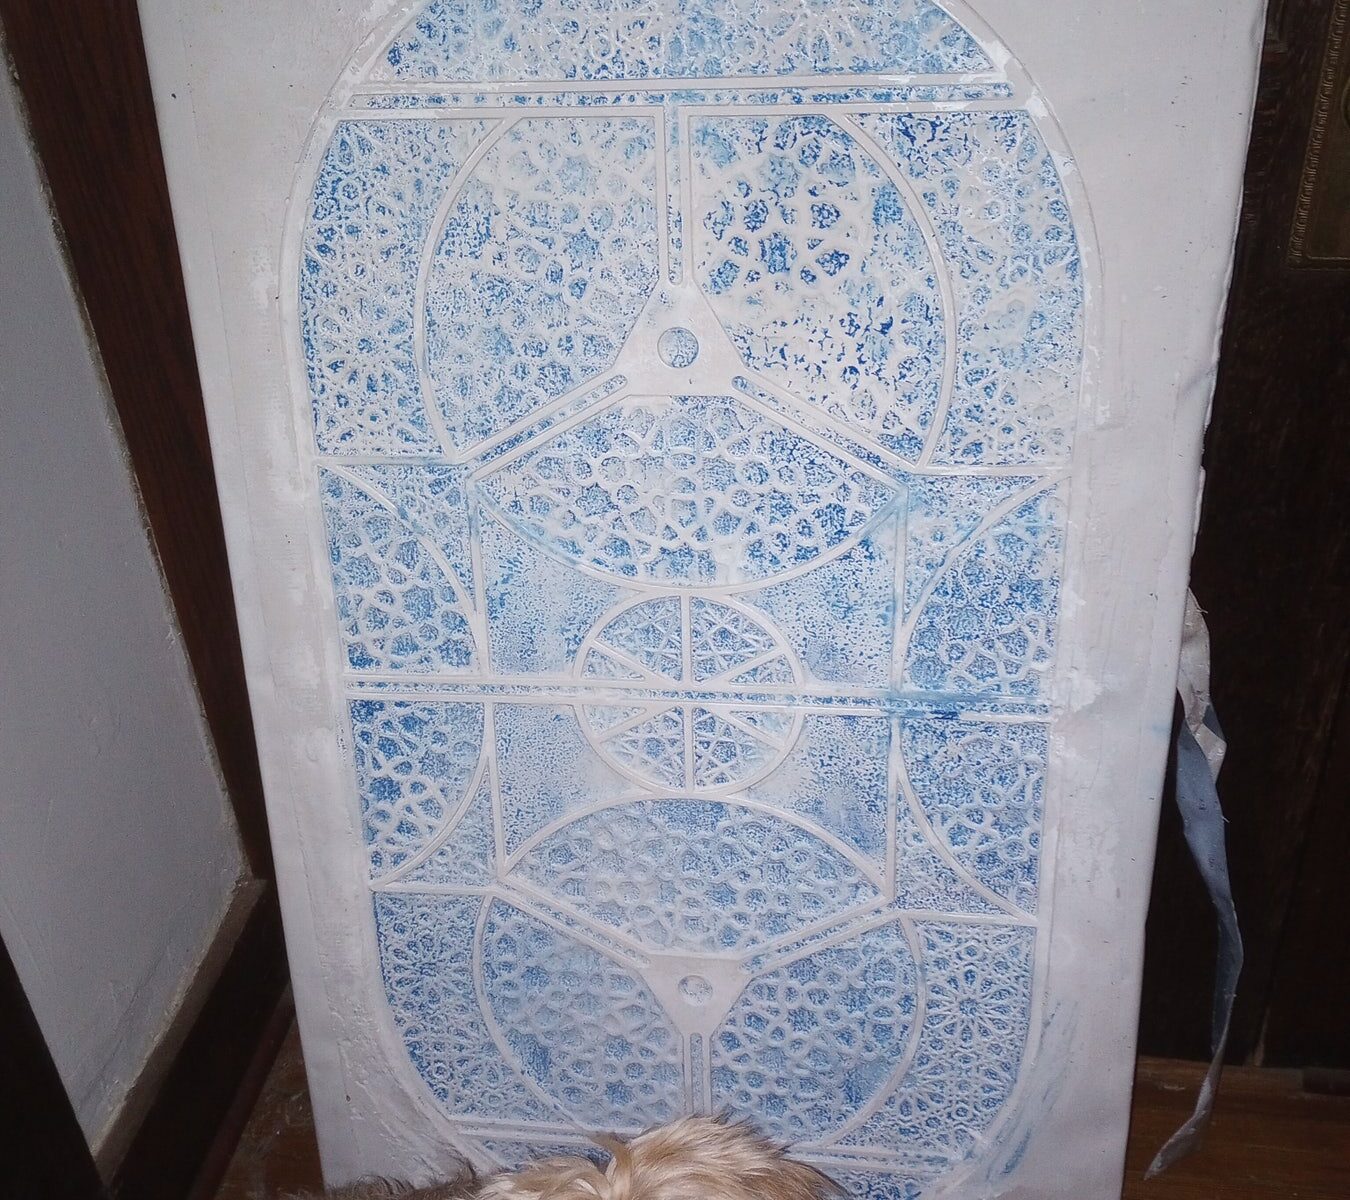
A plaster wall panel for rebuilding the long-gutted top floor of our house, with hellbeast for scale. Turns out just because you can make a mold for a monolithic 4′ tile doesn’t mean you should, but with enough fiberglass dumped in the mix anything will hold.
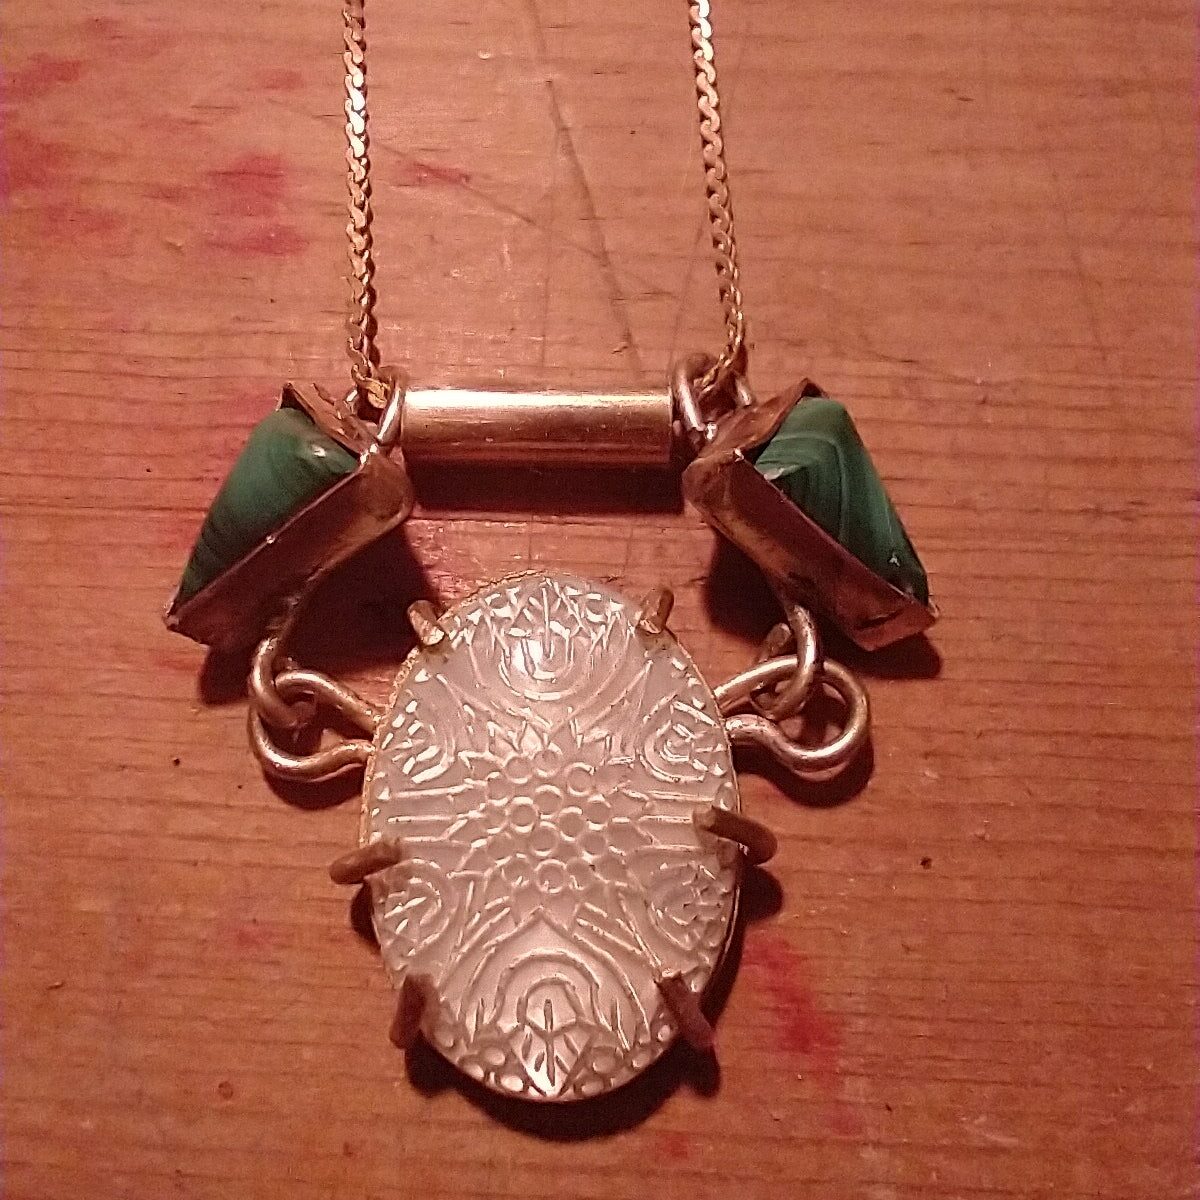
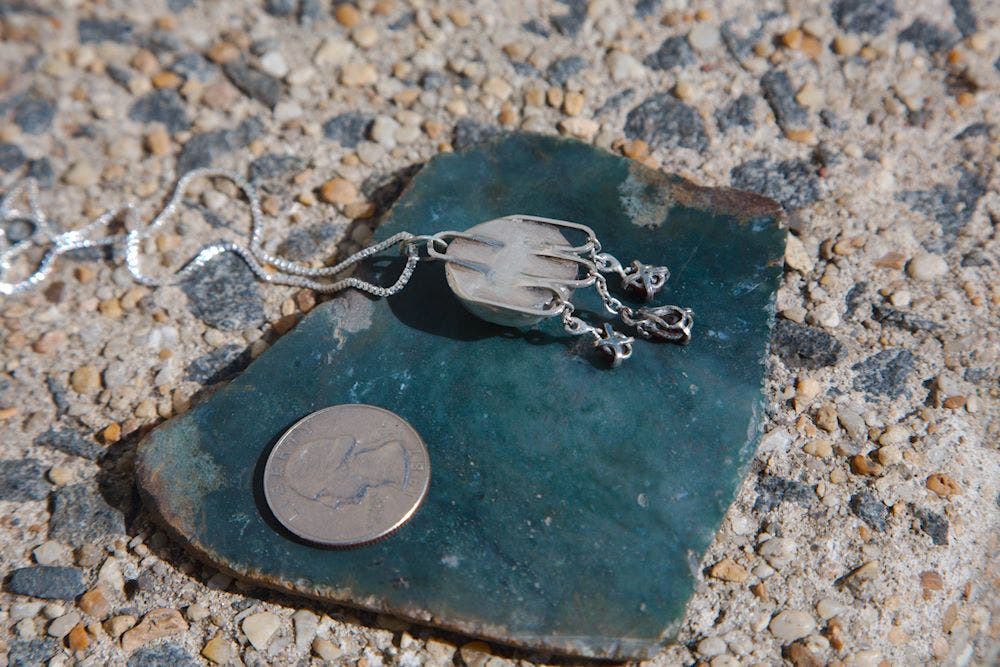
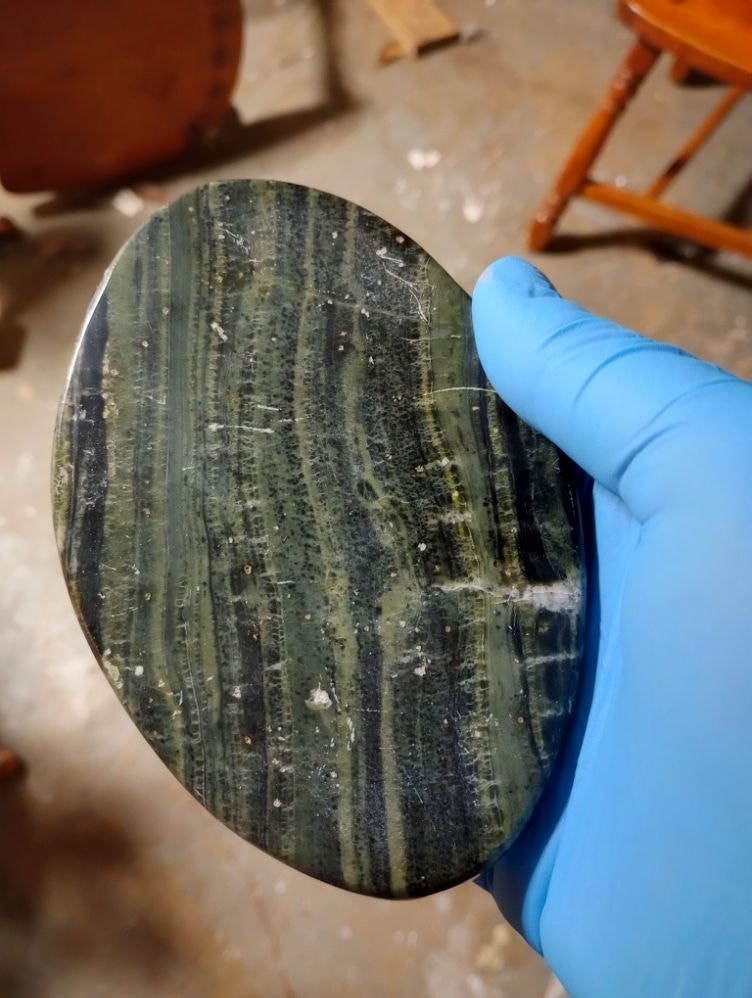
Quick kinda sloppy one for a niece’s birthday present. Gotta figure out a better way to do corners on those bezels. The guild workshop I do my lapidary in has a scraps bucket full of little bits like these hematites, which comes in handy in an emergency.
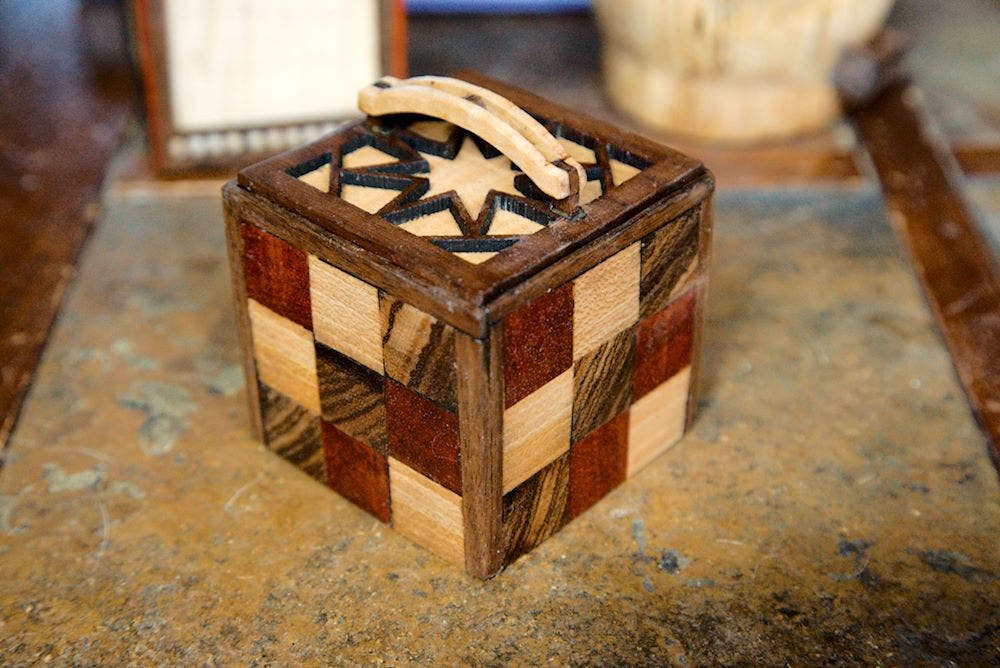
A commissioned set of gift boxes based on these, each themed around a one-word prompt of the recipients’ hobbies: Photography, gardening, pottery, and quilting
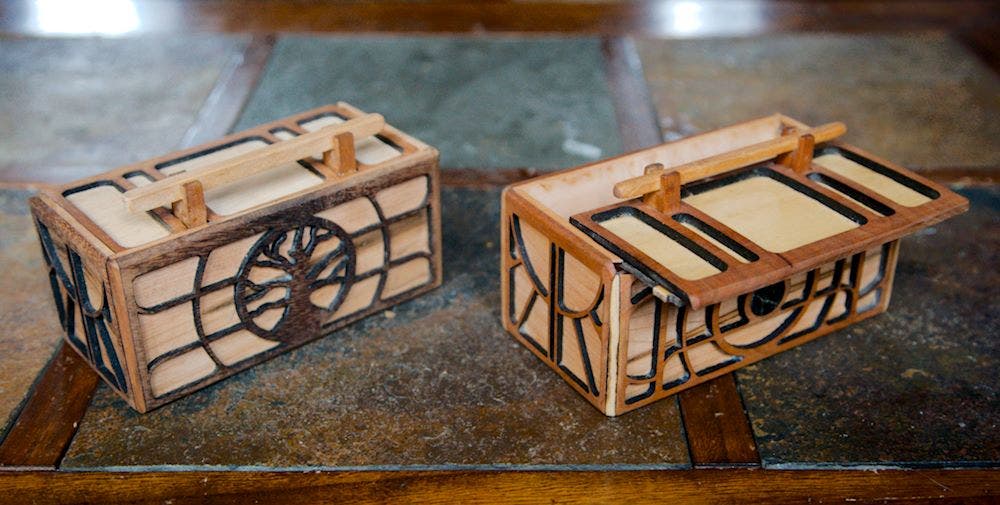
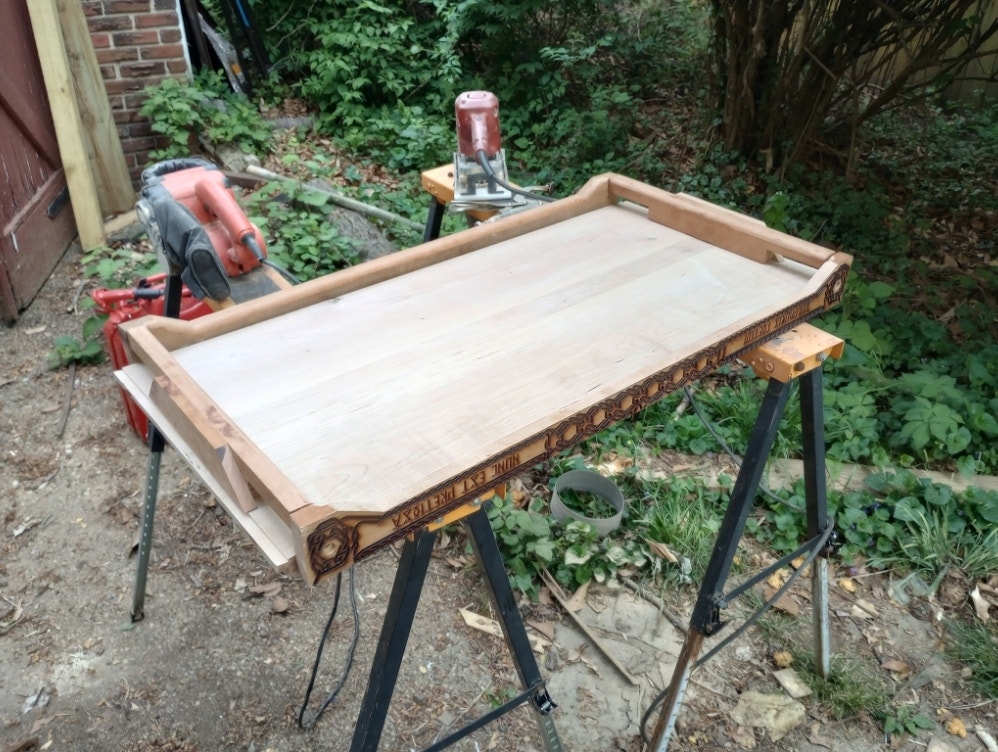
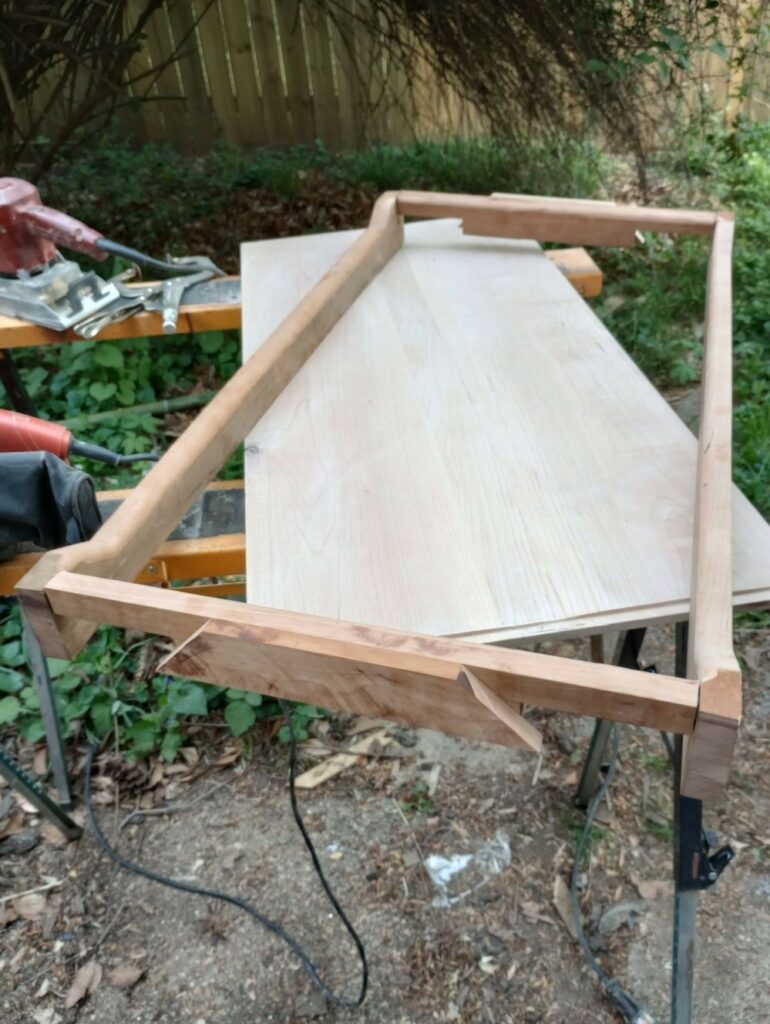
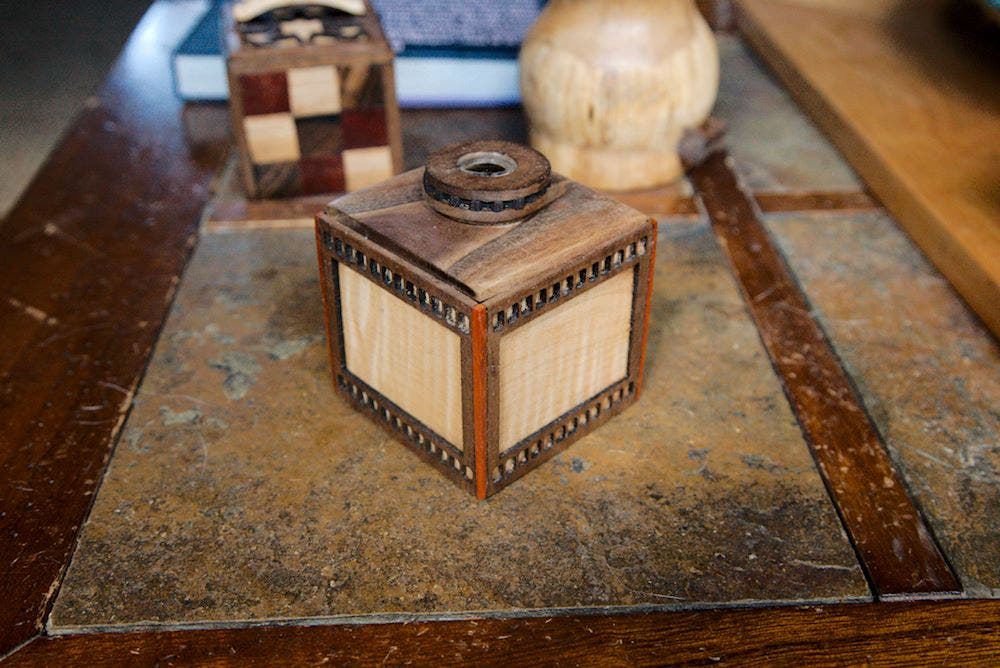
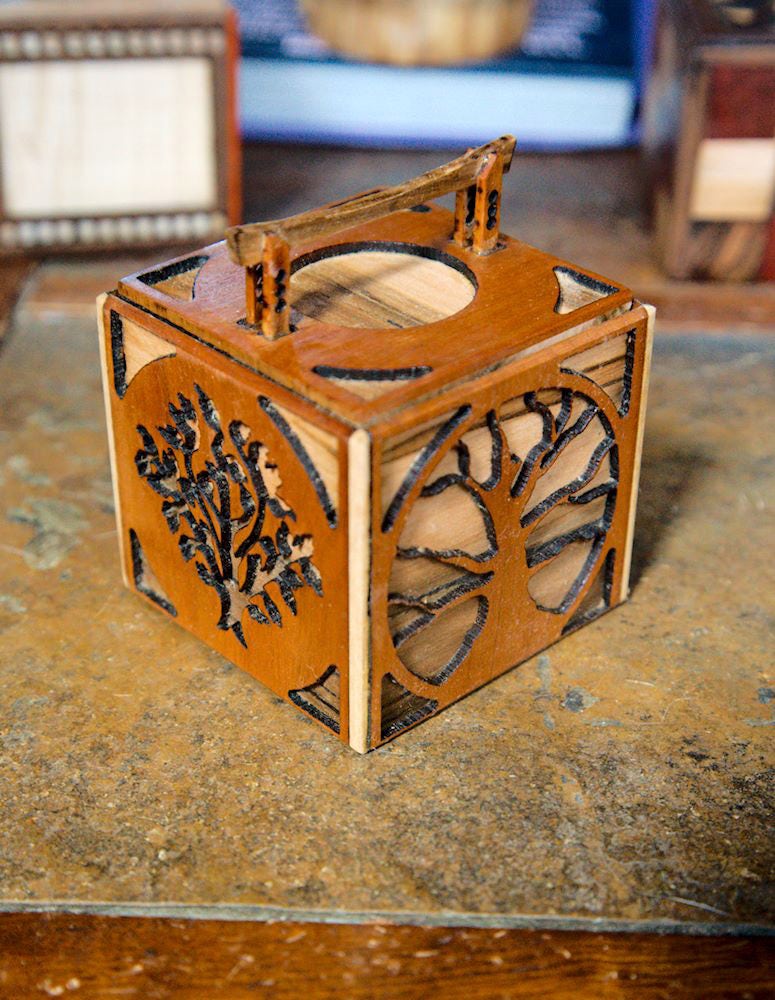
Organizing the craft fair cruft while stuff on the bigger projects cures, got a lot of variations of these little boxes made of two plys of 1/8″ wood stock around.
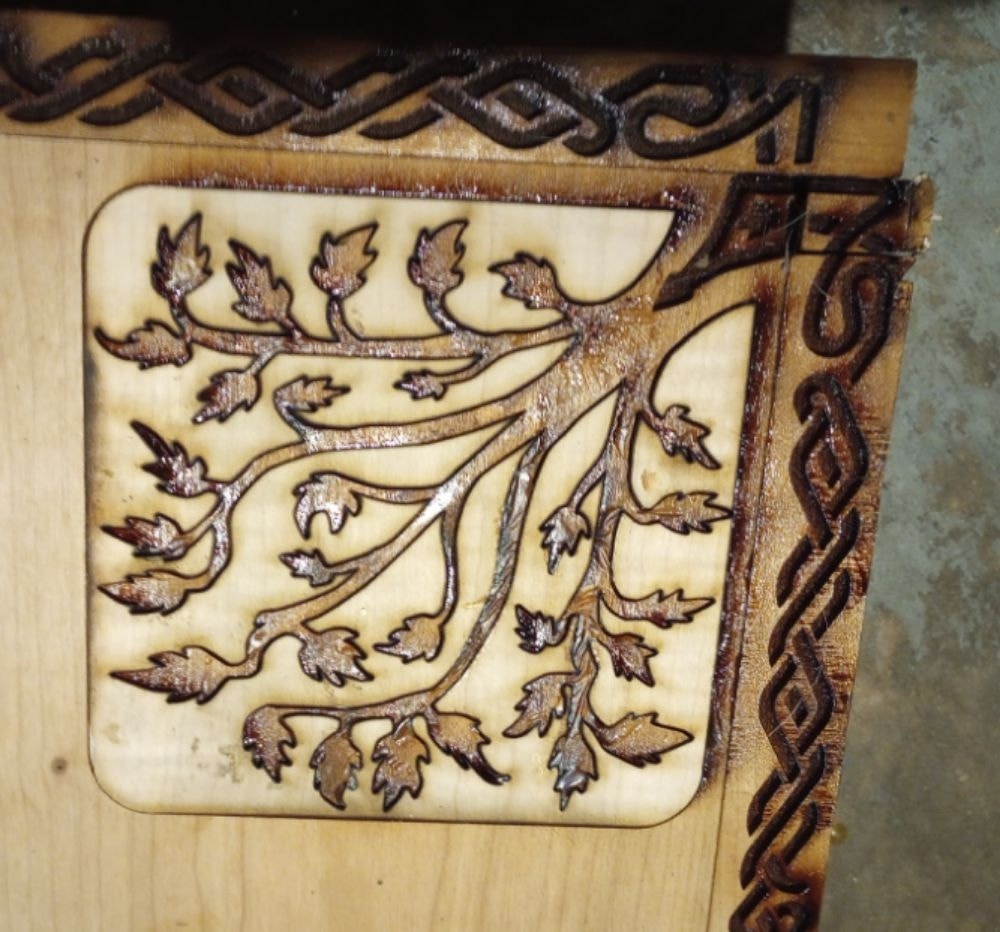
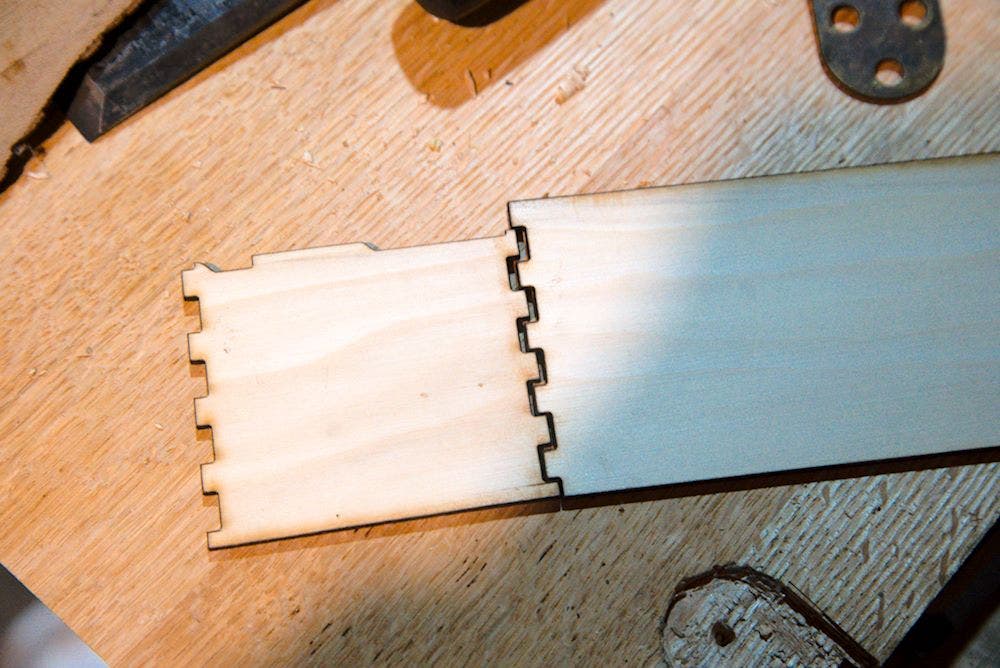
Inner layer of box-jointed maple, outer layer of cherry or some dark contrasting wood with a decorative pattern and some reinforcements to help keep the sides and bottom together. Everything’s laser-cut out of two sheets of stock, usually in batches, then just gets glued up and sanded, about as simple to construct as it gets.

This particular version has a couple of experimental features to make them faster/cheaper: some smaller rounded stone inlays that just get punched out on a drill press for faster production and a non-removable lid that lifts up and slides back, rather than pulling off fully, both so it doesn’t get lost and to eliminate the fitting needed to get a nesting one to seat cleanly. Probably a dead end, people can’t figure out how to open them and I don’t really wanna go this hard into competing with the scented candle stand for someone’s $20

Some ancestor versions in different styles

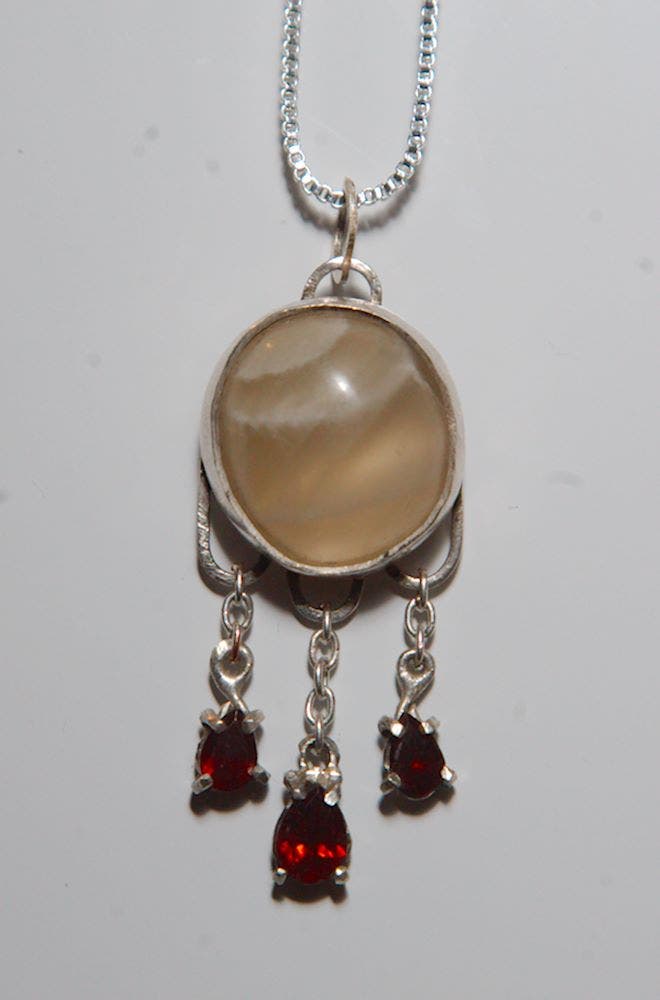
Years back I’d go to parking lot craft fairs and the like and make jewelry, polish a cab and set it with a little oxypropane torch and all while you waited (frequently for hours). I thought it was a neat way to do custom work and show people the process and turn my old rock collection into something fancier. Mostly gave up because it was aggravating dealing with the same kind of question from everyone who stopped by, over and over – is this stone for curing my bunions, is it right for a Sagittarius, does it give off ‘healing energy’. And like, it’s a rock, do you usually find real doctors lighting things on fire in an empty lot, get real
obviously it’s for binding the curse of the werewolf